1. 2D Design
Brief Overview
Because of my background in architecture and interest in Photography, I have been using 2D Design software like Adobe Photoshop for image processing but have used Adobe Illustrator on very few occasions. With this week's assignment I wanted to advance my skills in Illustrator and Photoshop. One of the aims of this week was also to explore the textual scripting side of these softwares. The only disadvantage, I came across was they were paid softwares. Hence, I also decided to explore GIMP, a great alternative for Adobe Photoshop but free.
Adobe Illustrator (scripting)

I started with the scripting side of Illustrator and the steps are as follows:
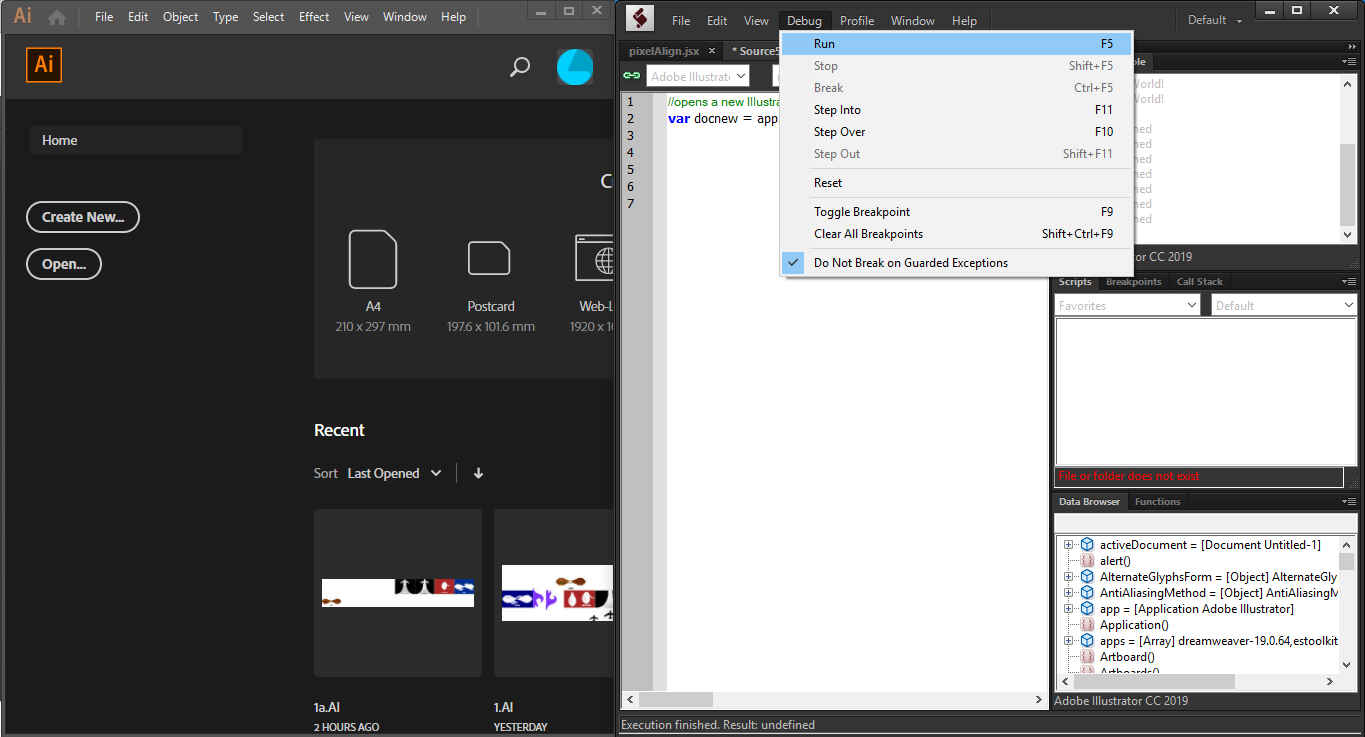
1. There is IDE(based on Javascript) available for Adobe Illustrator, Photoshop and Indesign called Extendscript Toolkit CC
2. An online guide comprising of various syntaxes is also available here for helping with various syntax and workflow.
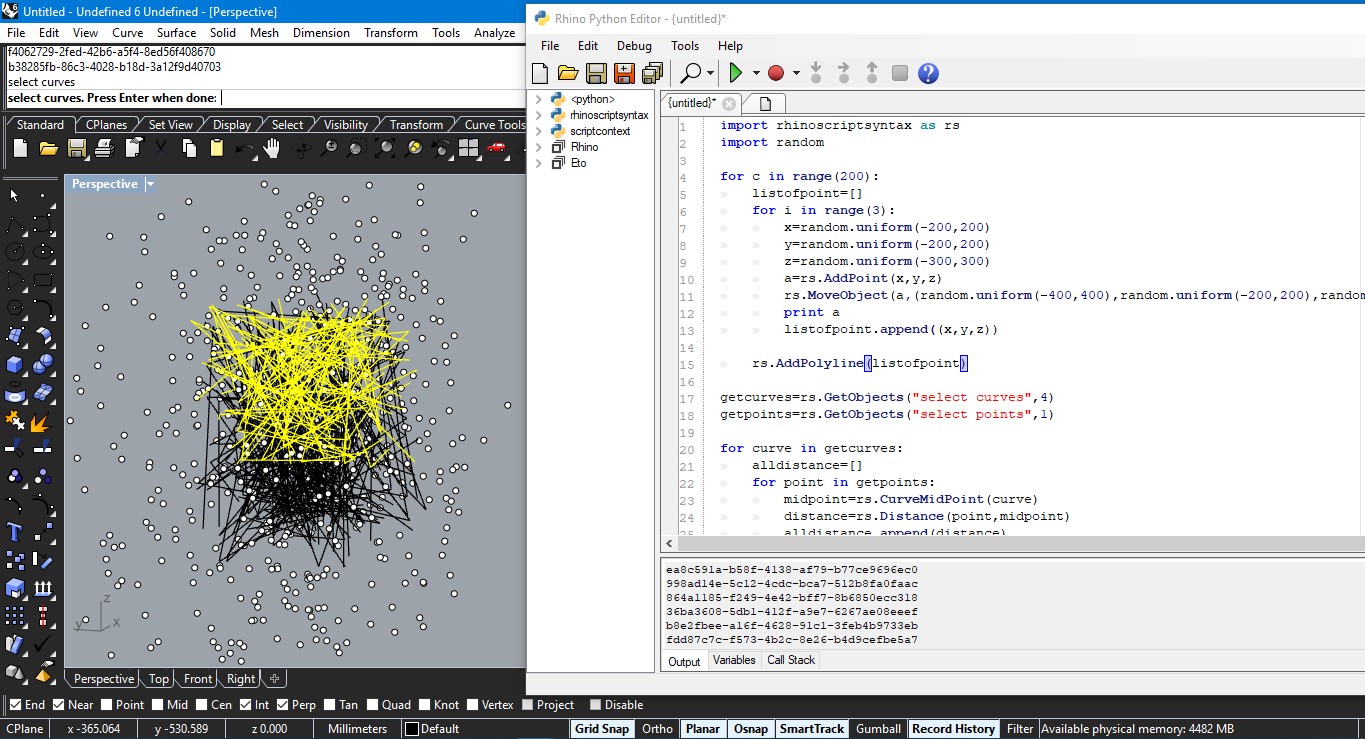
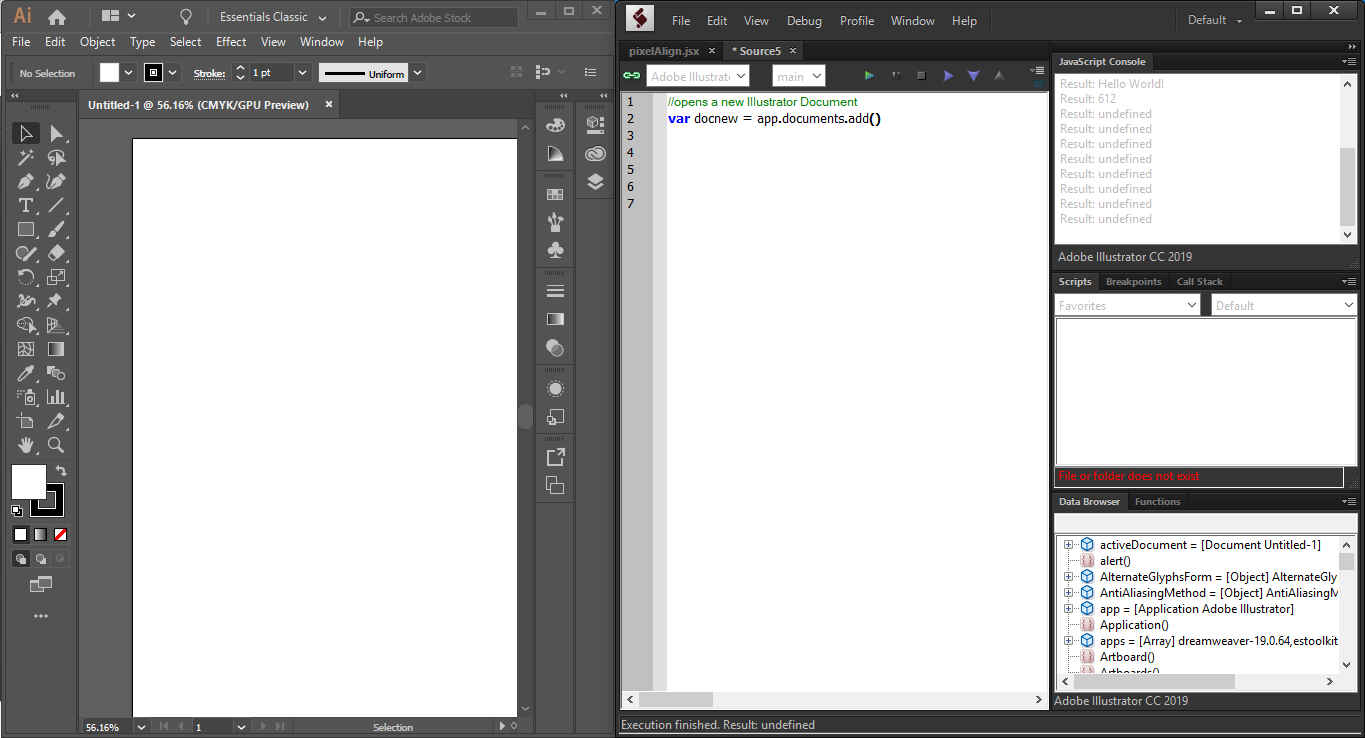
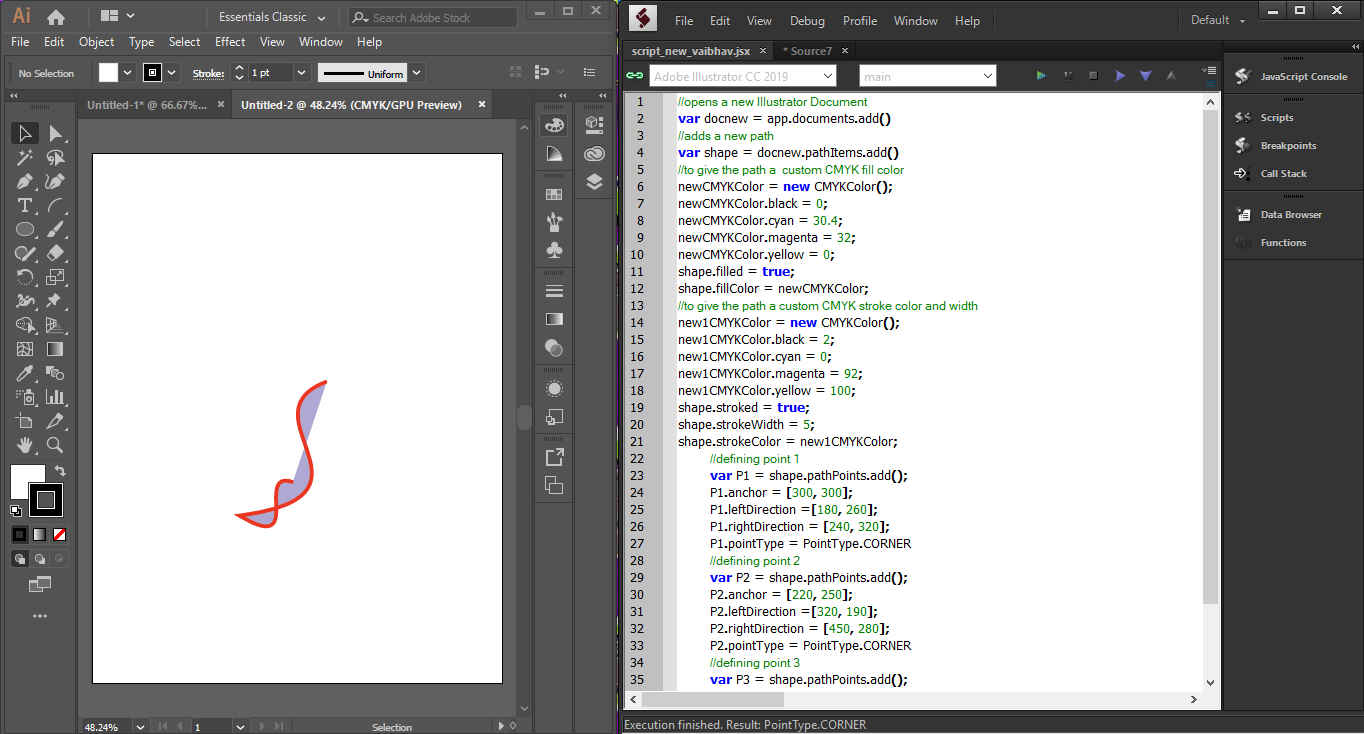
3. When you write a script for Adobe Illustrator, you must first decide which file, or document, the script should act on. The command to reference or access a current document is app.activeDocument and activeDocument, both appear identical in the JavaScript.
4. A collection of objects contains an array of the objects that you can access by index or name. The collection of objects takes the plural form of the object name. For example, the collection object for the document object is documents.
5. The Javacript in Extendscript Toolkit uses Containment hierarchy while writing code:
var myStyles = app.activeDocument.graphicStyles; //1
var firstStyle = myStyles[0]; //2
var firstStyle = app.activeDocument.graphicStyles[0]; //3. 2 and 3 perform the same function
6. The first index in a array is [0] and the last index is [length-1]. Total number of objects in a collection is .length
7. Follwing are some important syntaxes:
var styleName = app.activeDocument.graphicStyles[0].name; // This gives the name of the graphic style
add() is used to add new objects
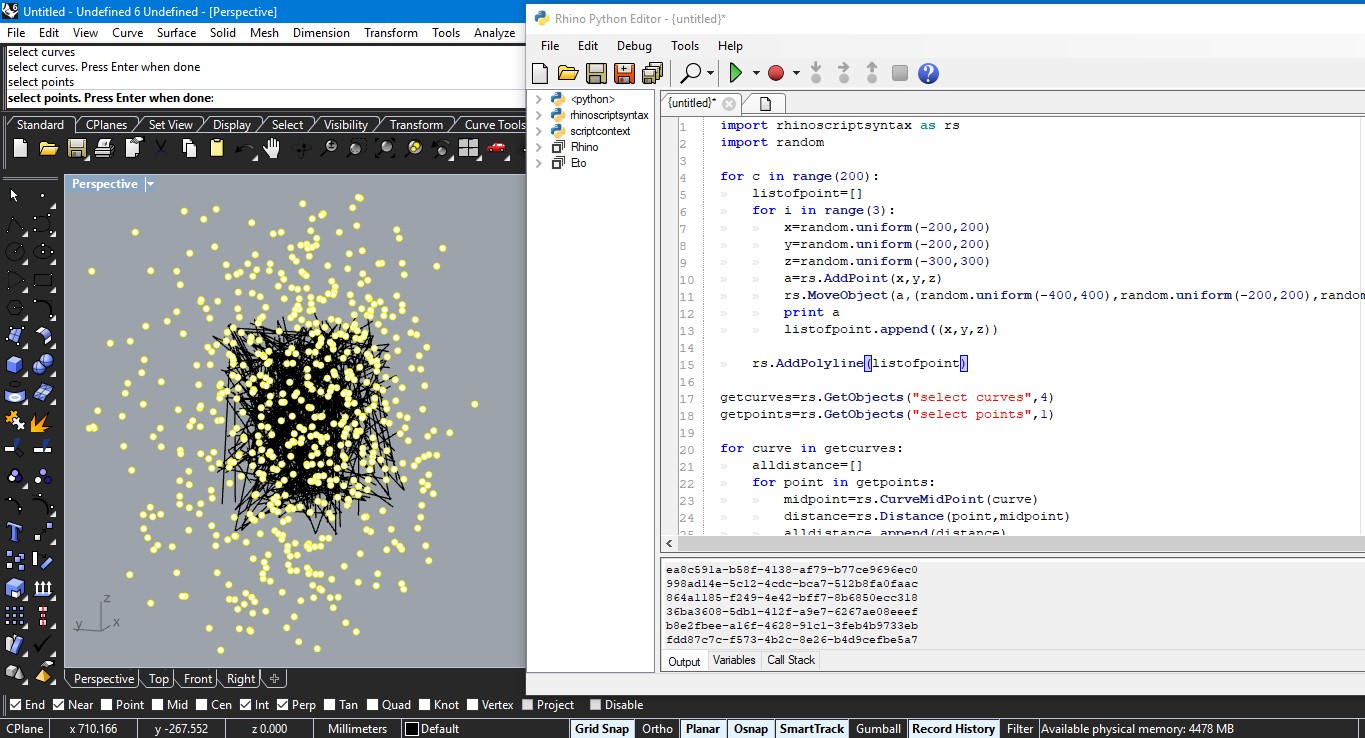
var myDoc = app.documents.add() //opening a new document
var myLayer = myDoc.layers.add() // adds a layer to the active document
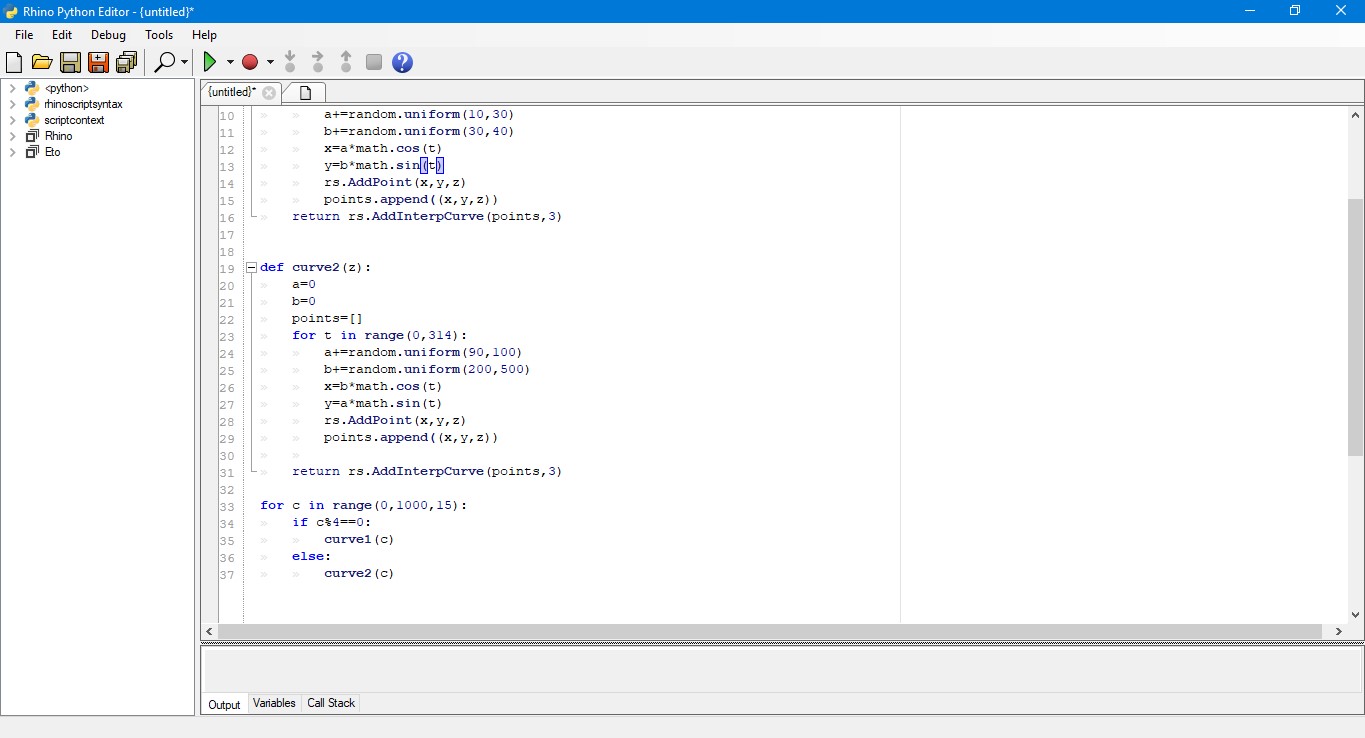
var selectedObjects = app.activeDocument.selection; // Accesses all the selected objects in the document.
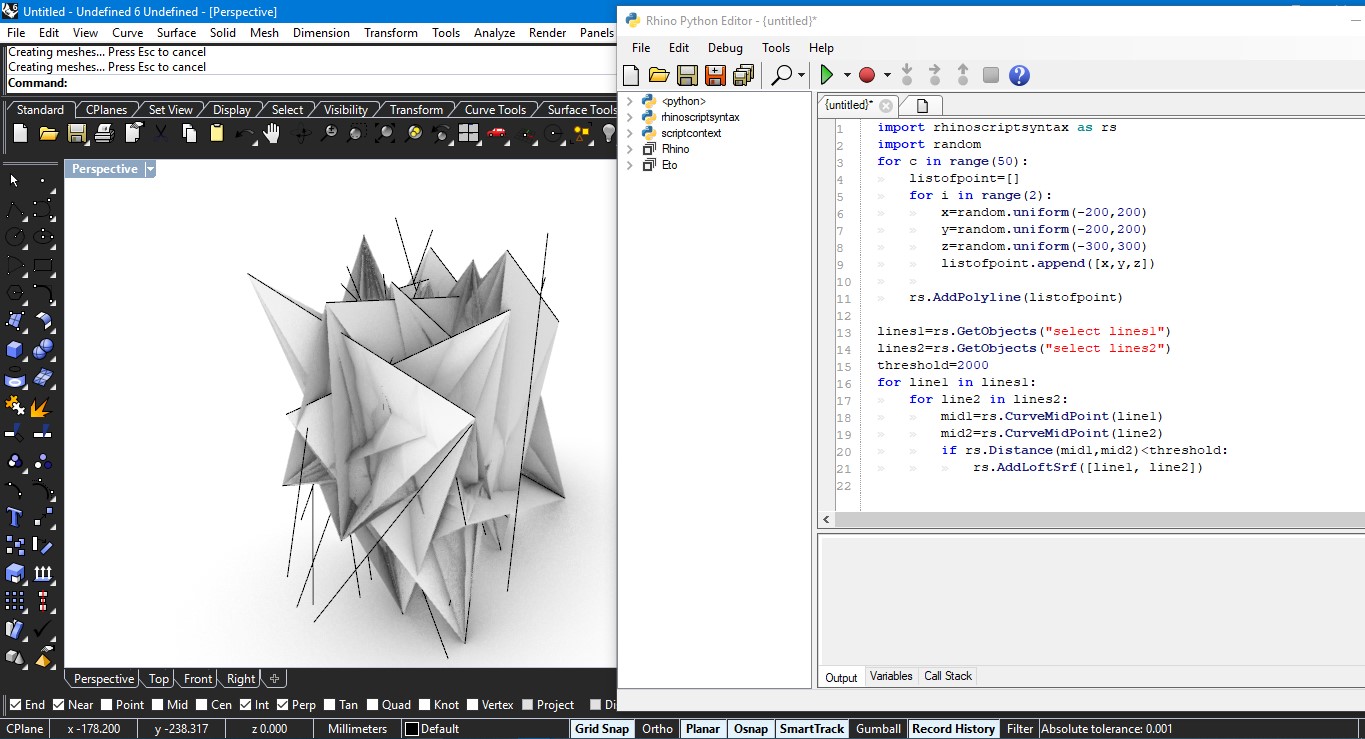
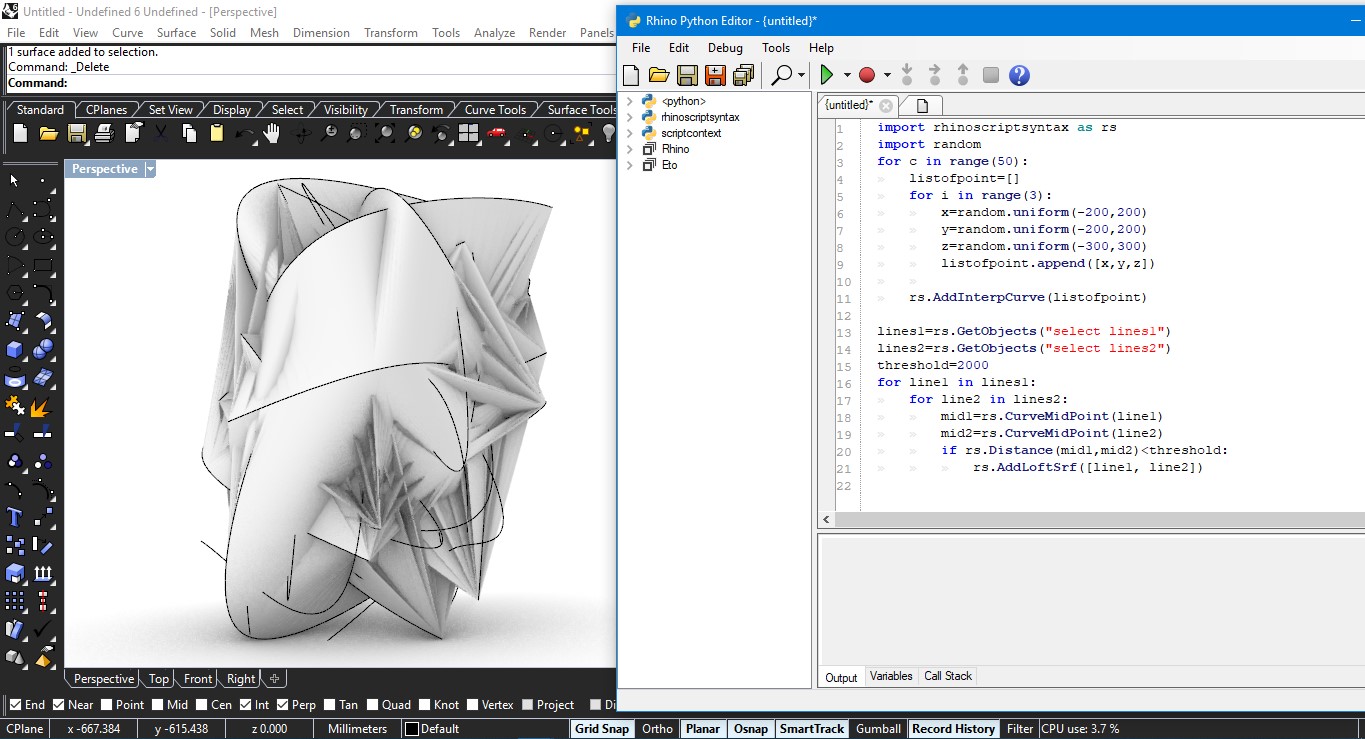
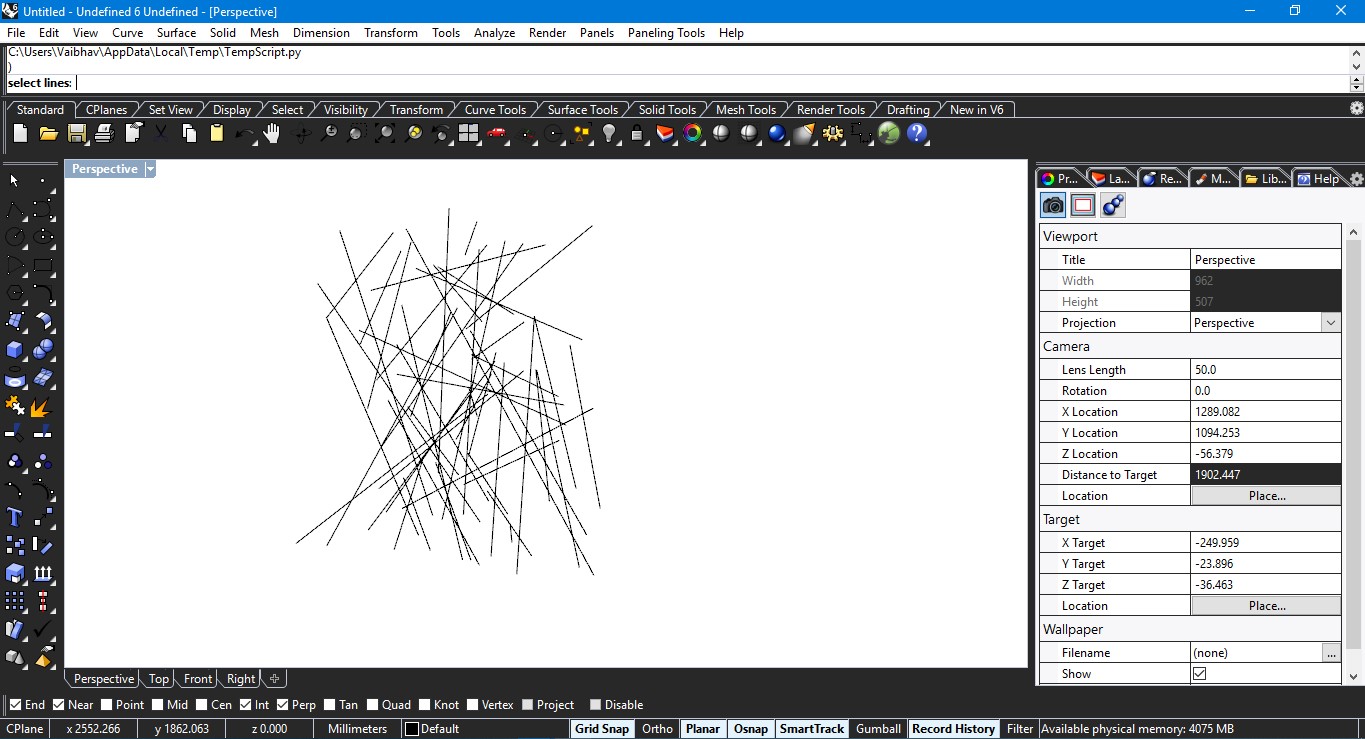
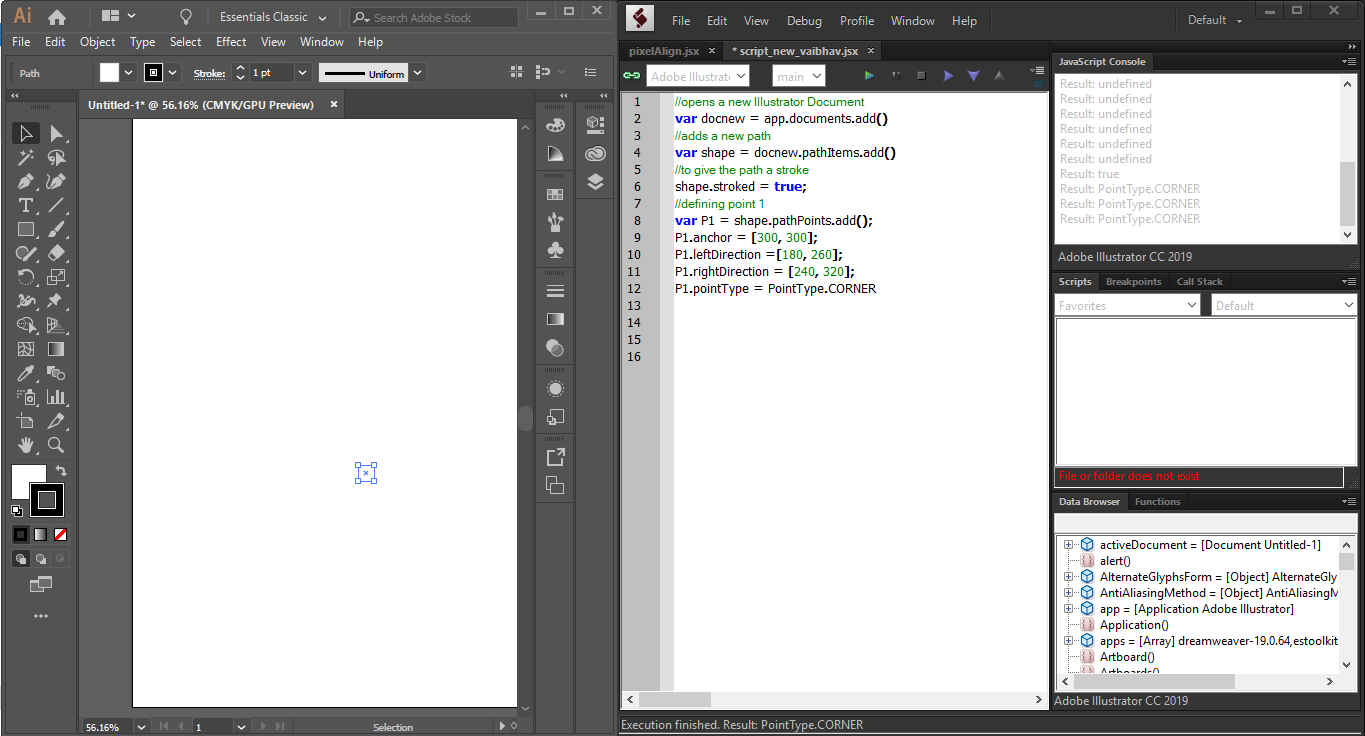
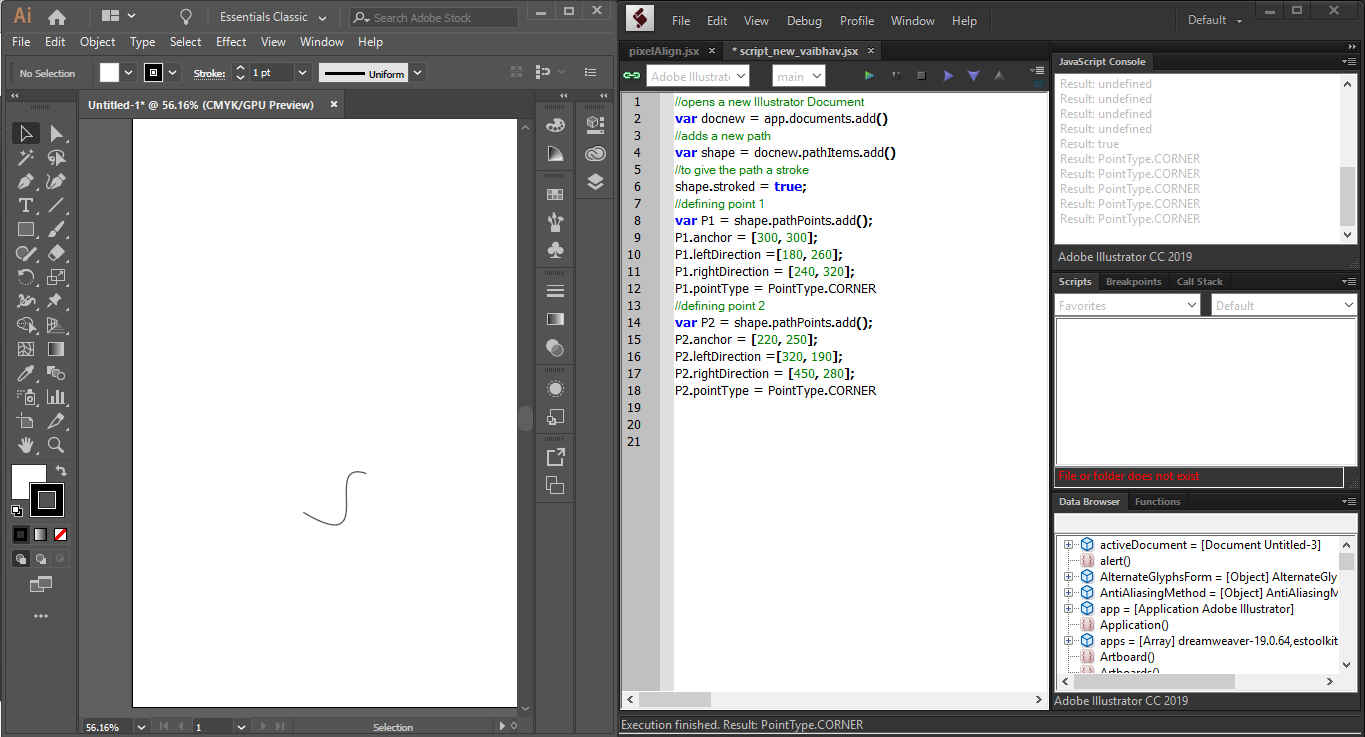
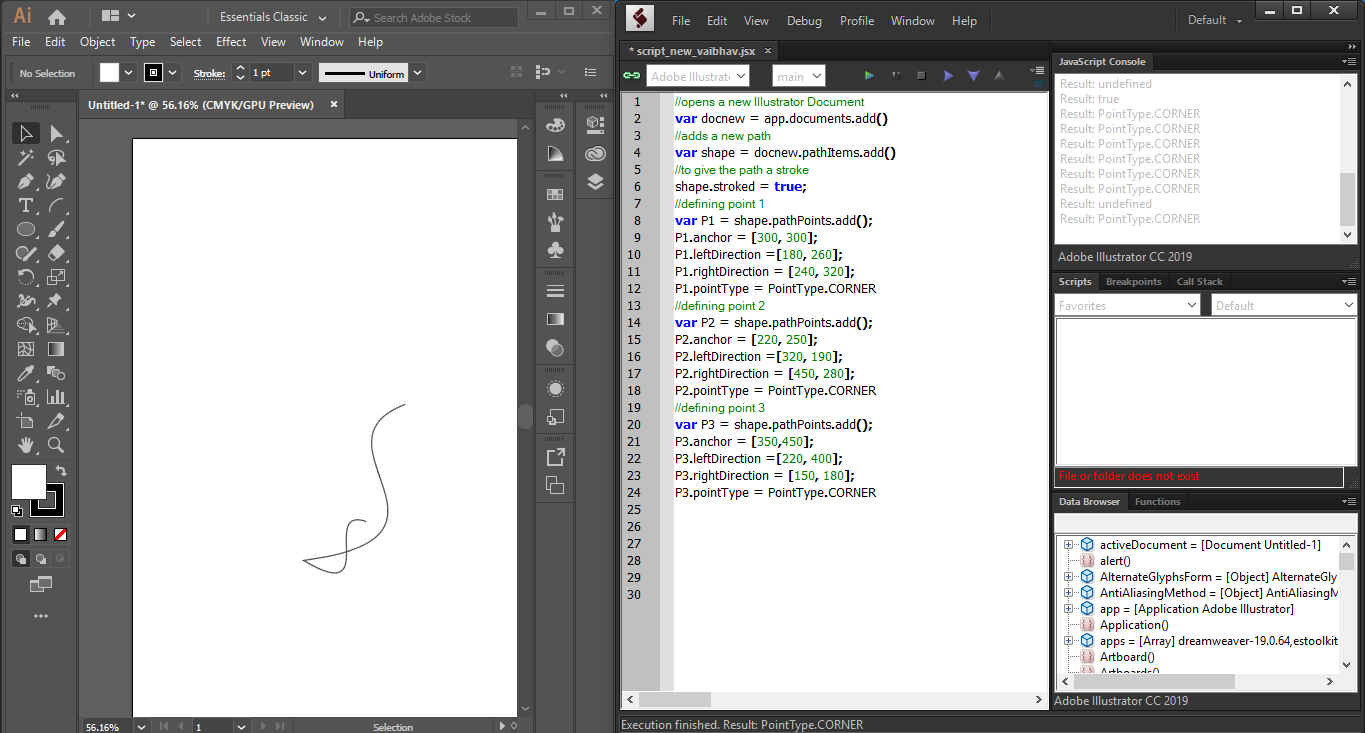
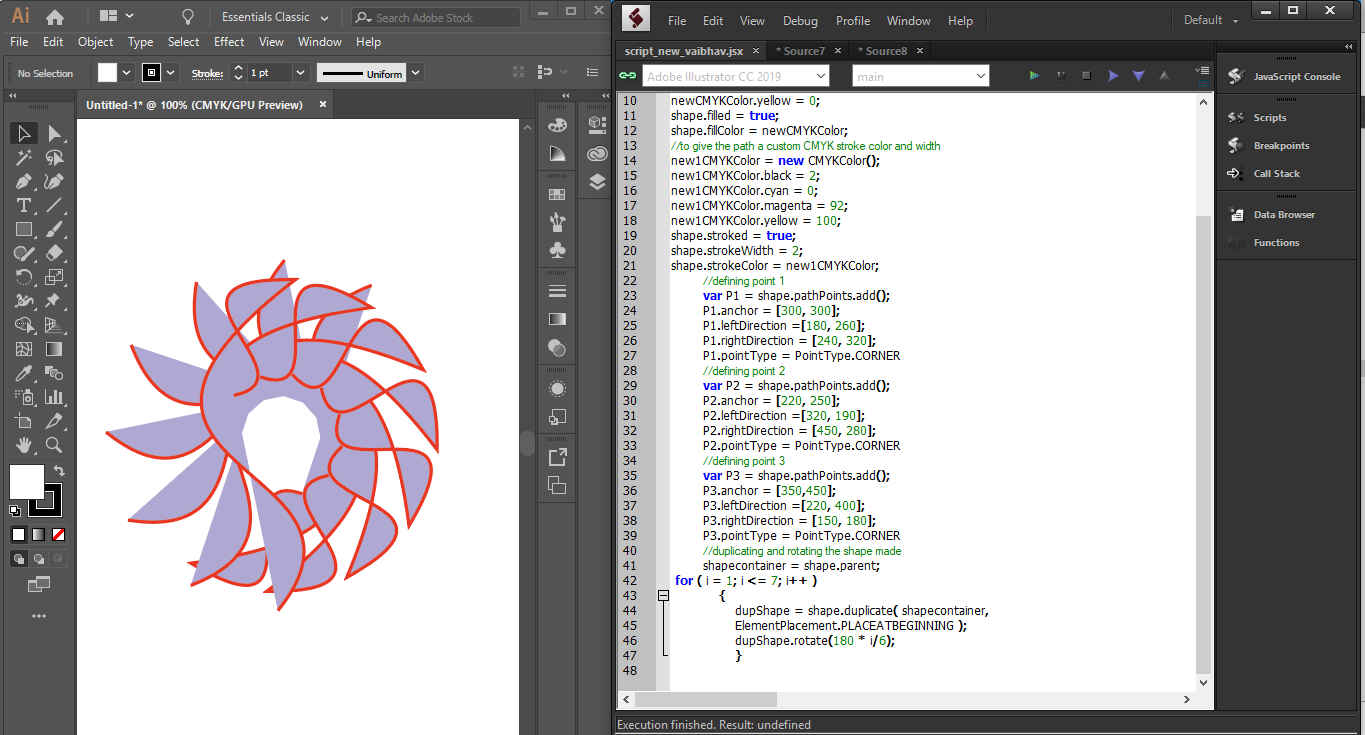
There are two ways to create paths in JavaScript
First method is to use series of x-y coordinates and second is to use pathPoint object.
app.Documents.length returns the total number of objects in the collection
6. Debug > Run in the Extendscript Toolkit to run the script or save the script as .jsx or .js and run through File > Scripts
Adobe Illustrator (Vector Graphic)
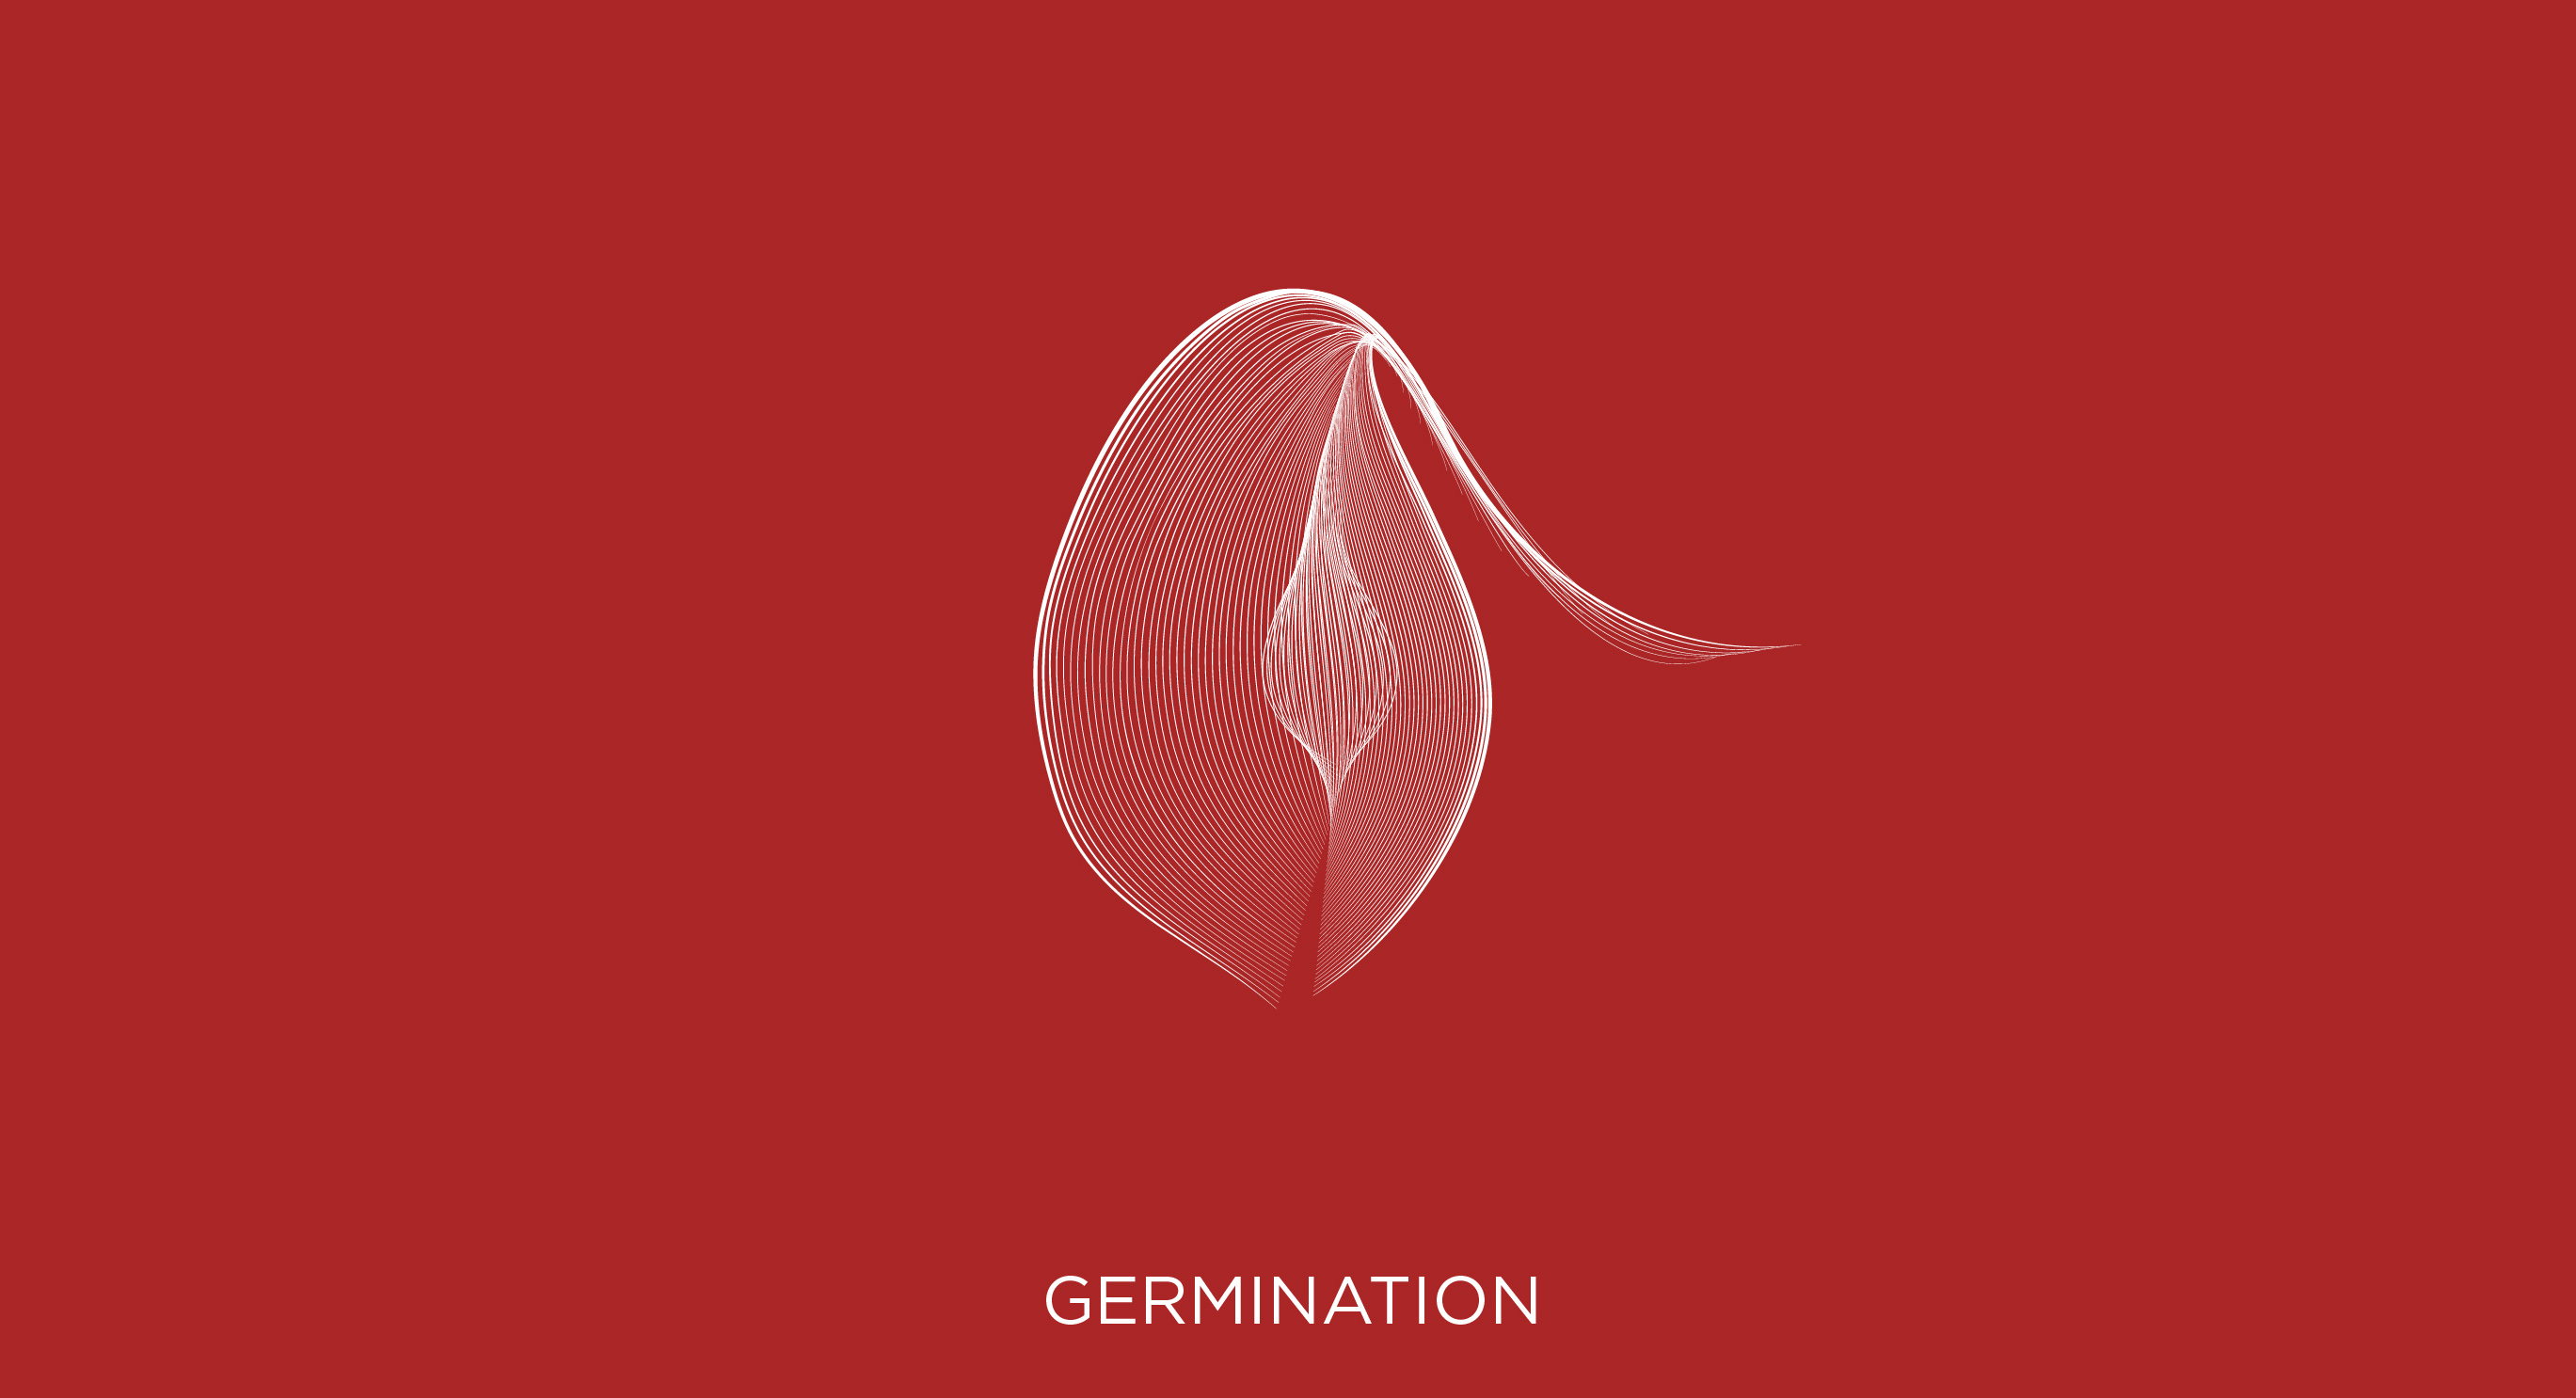
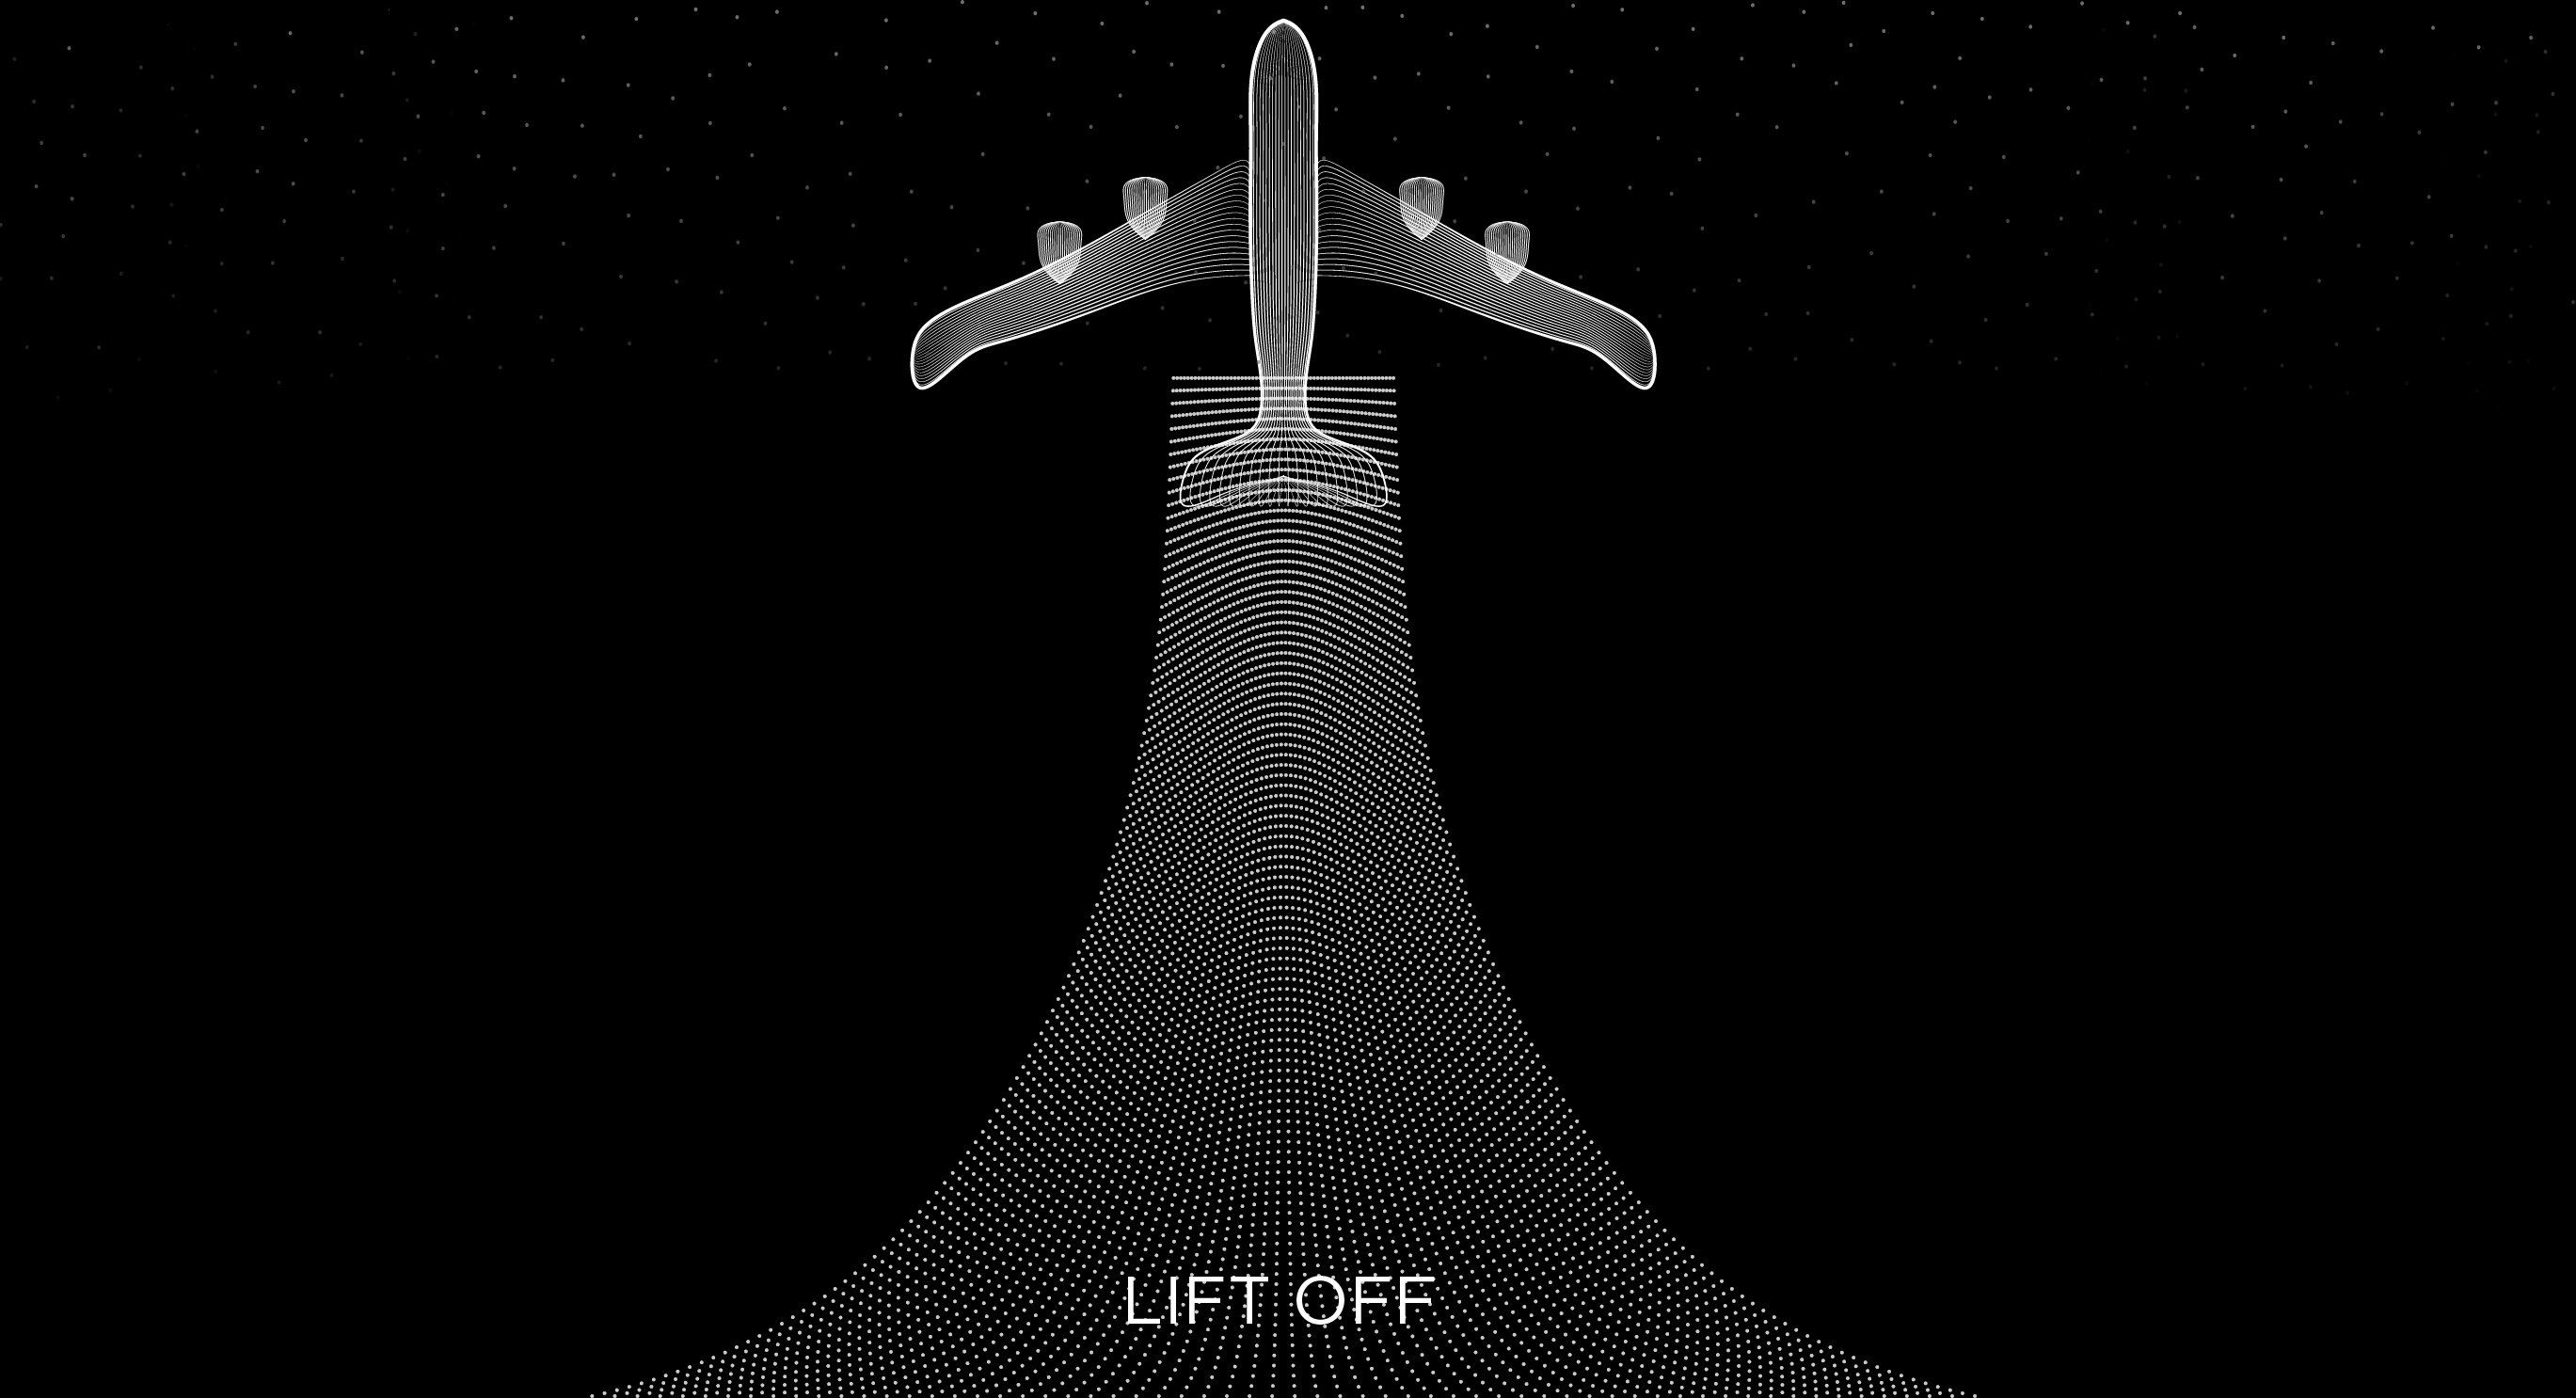
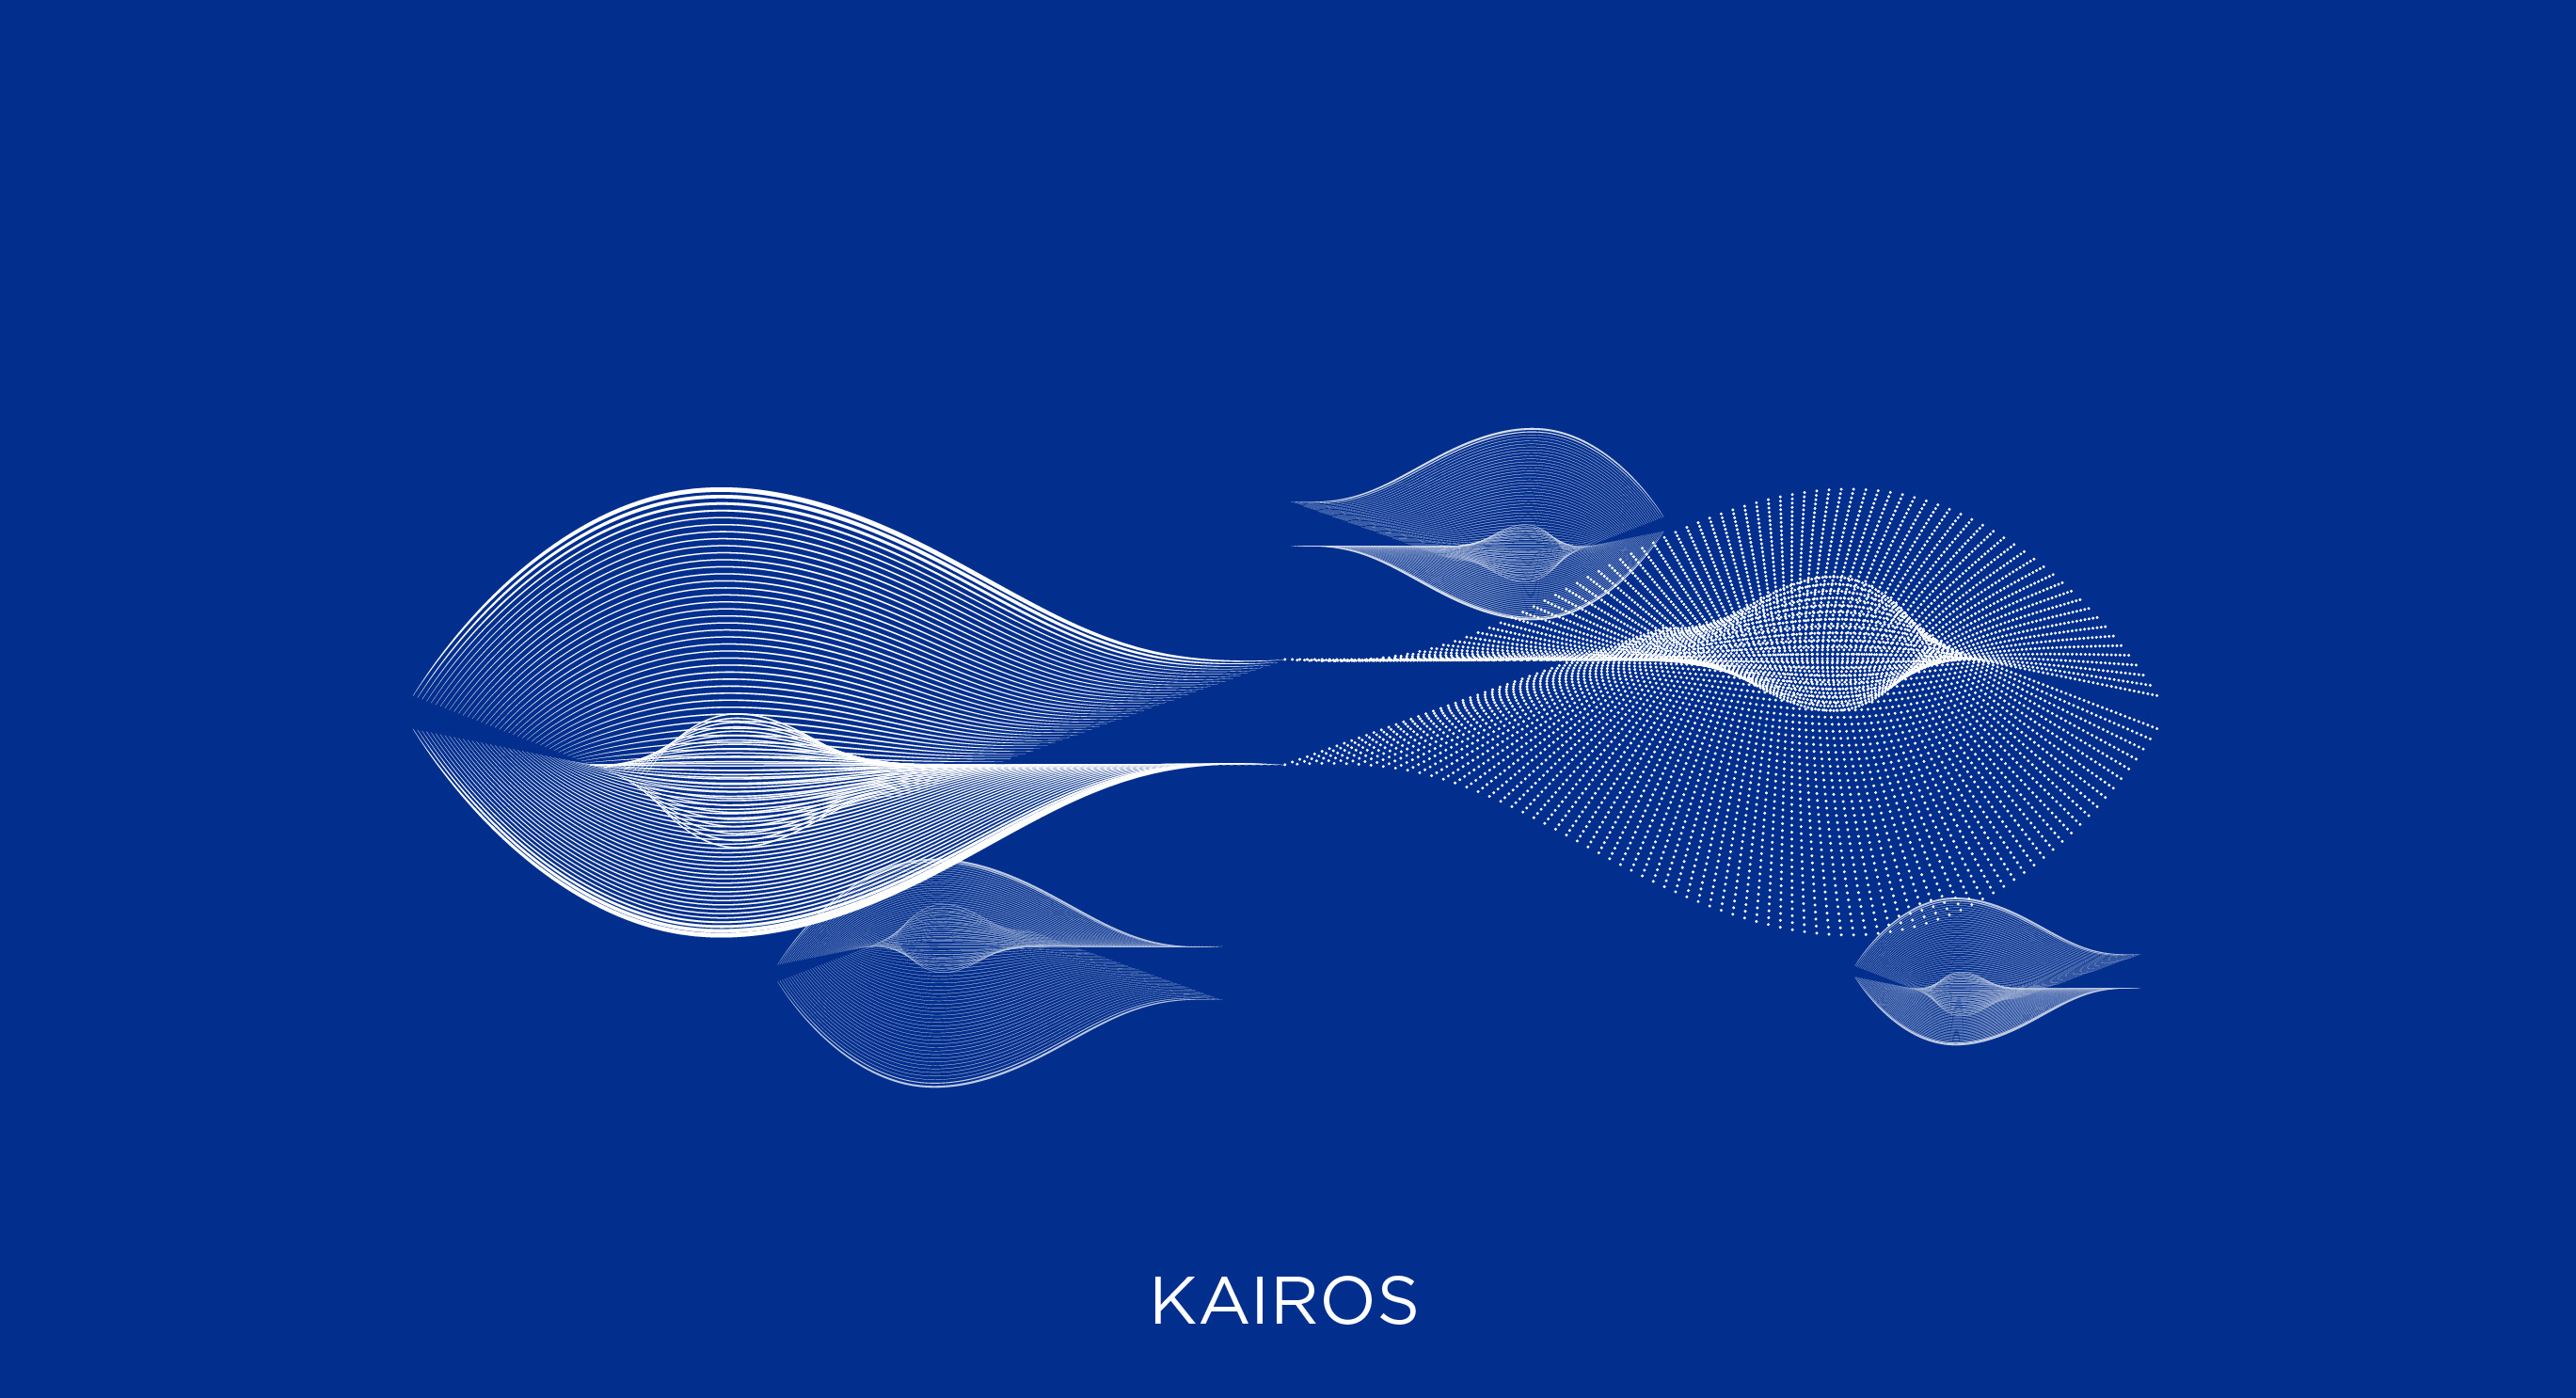

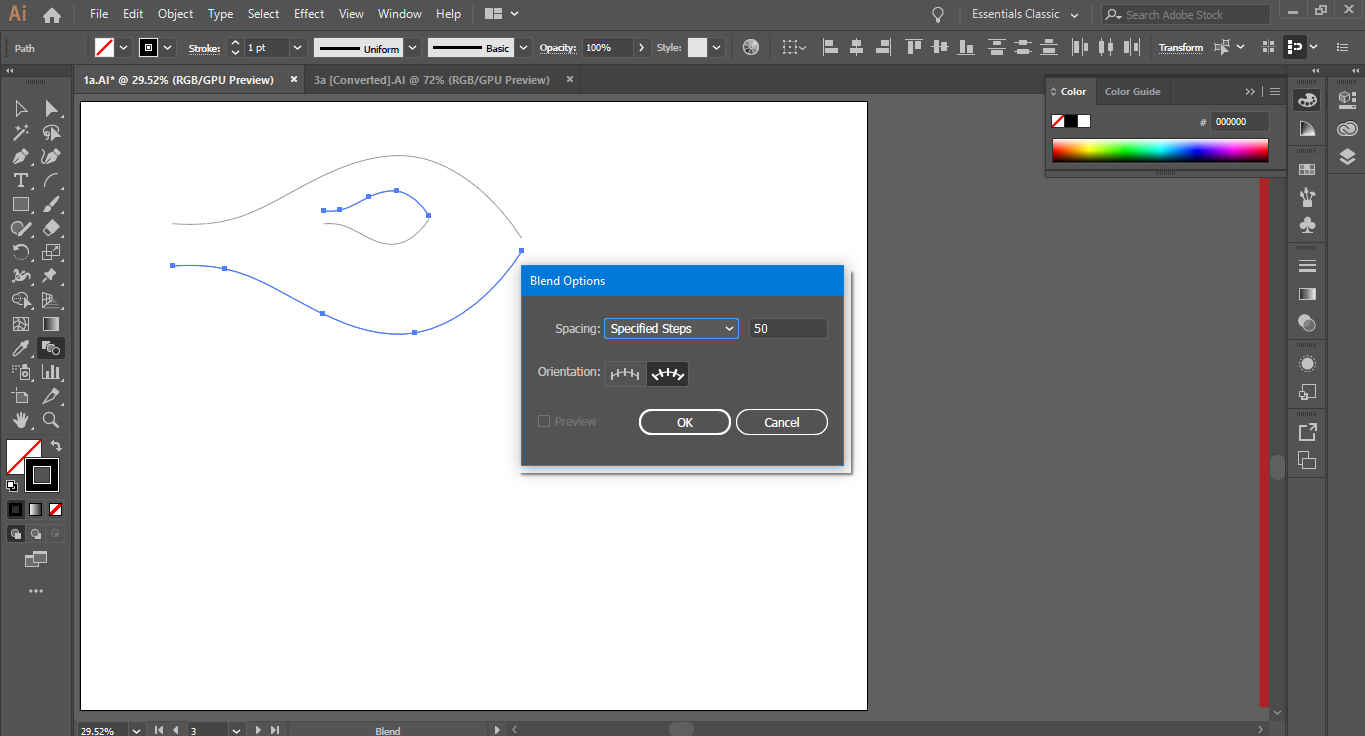

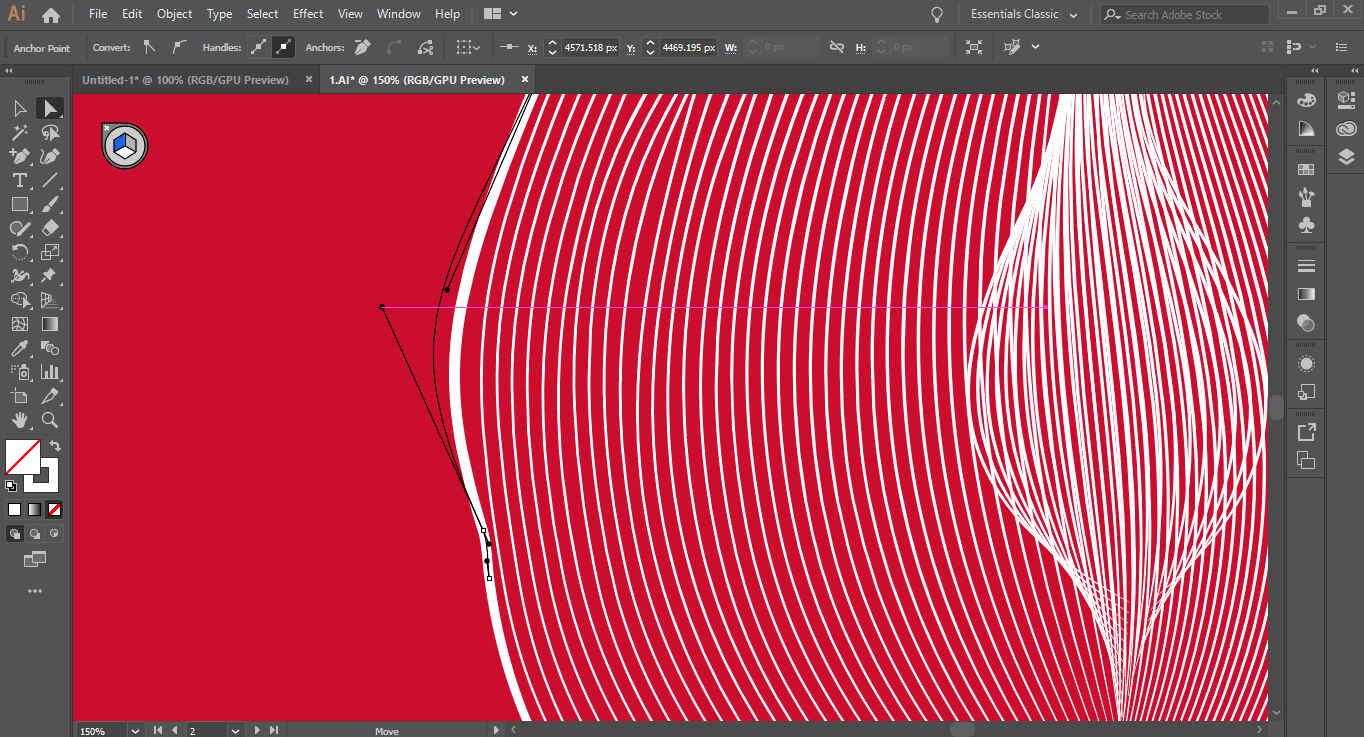

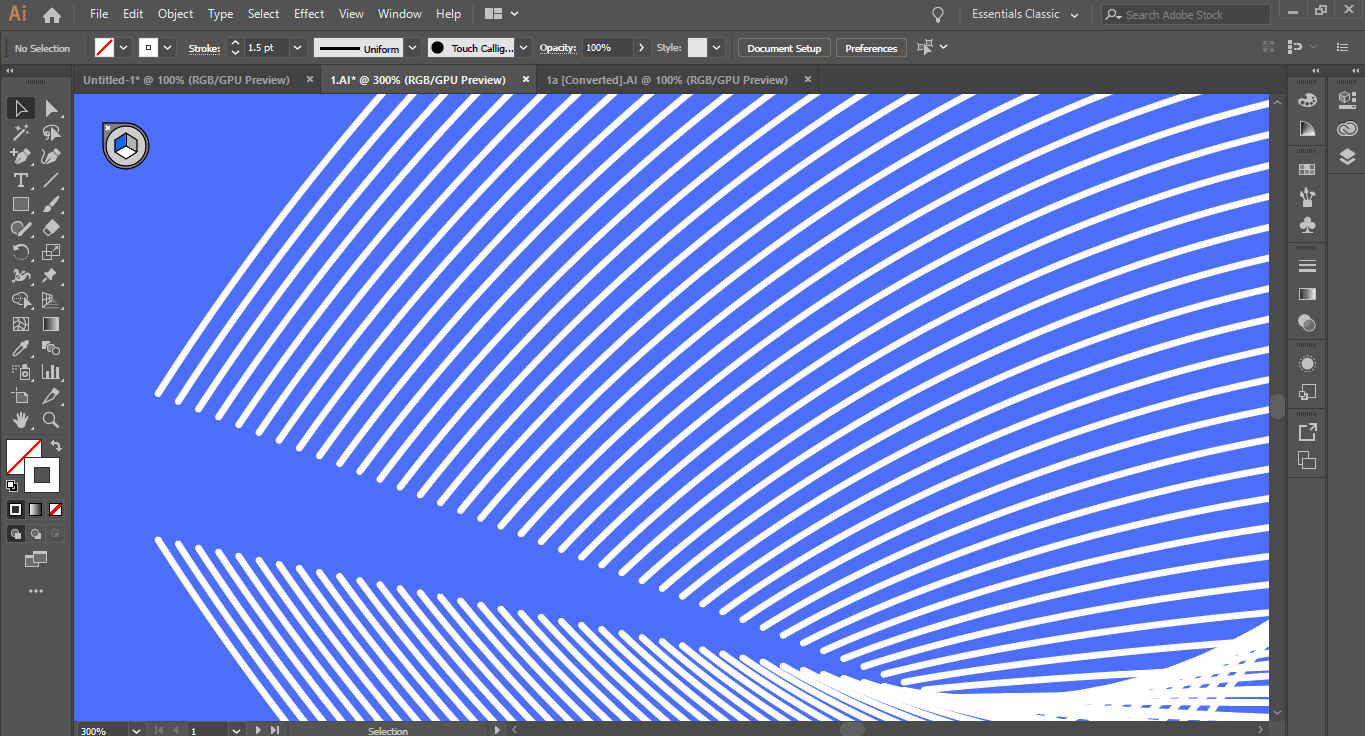
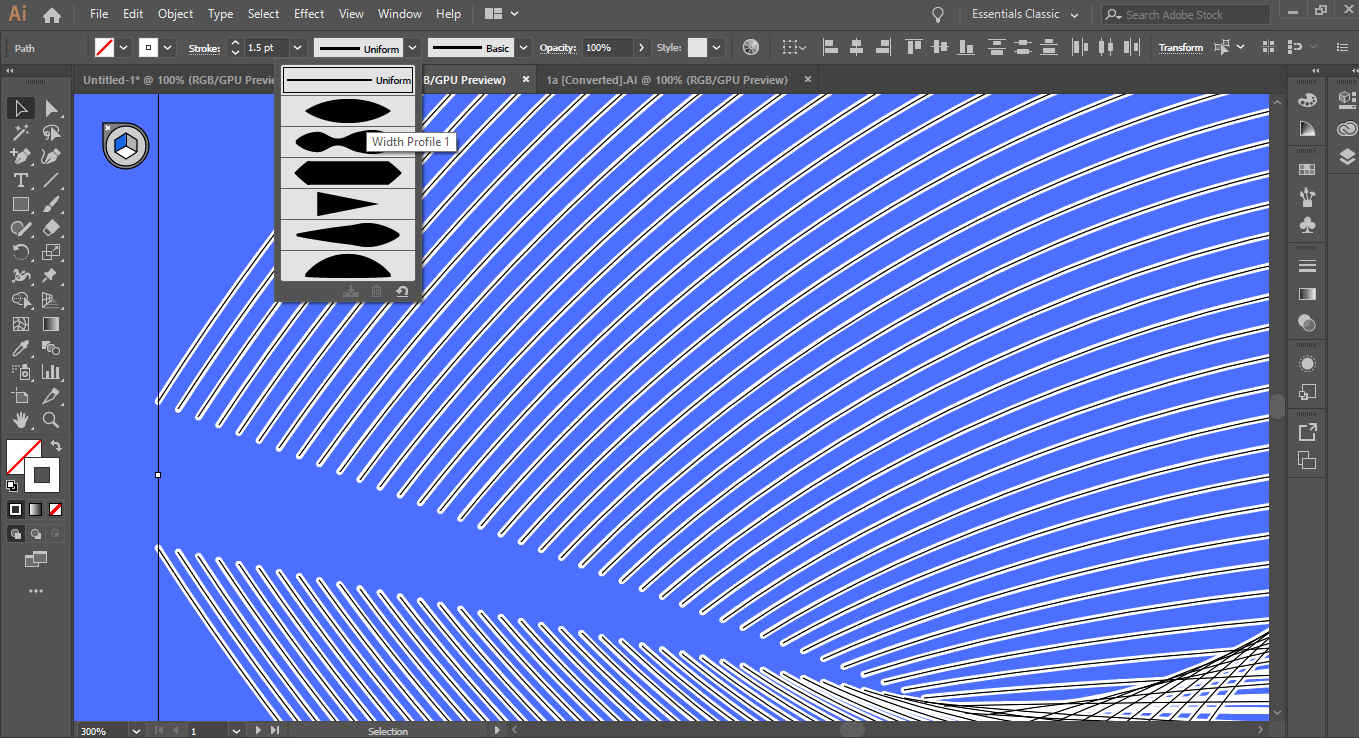
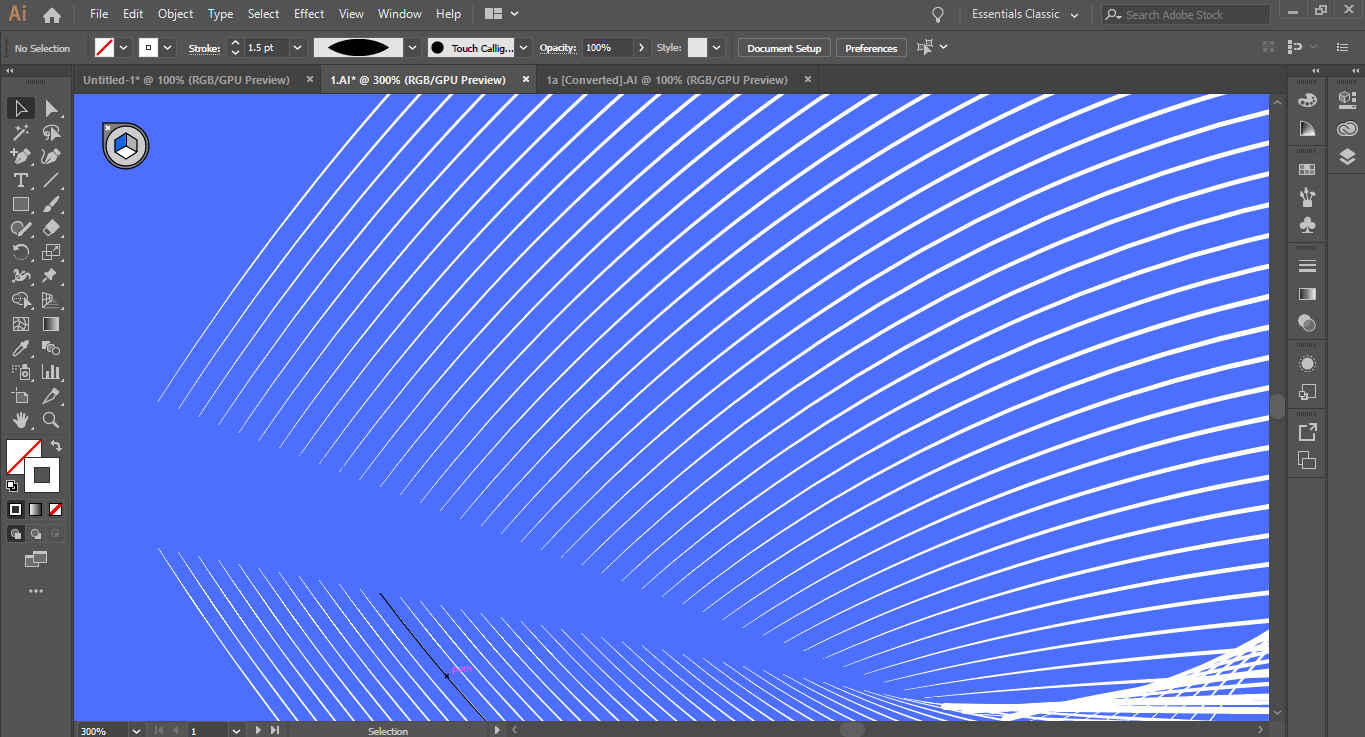
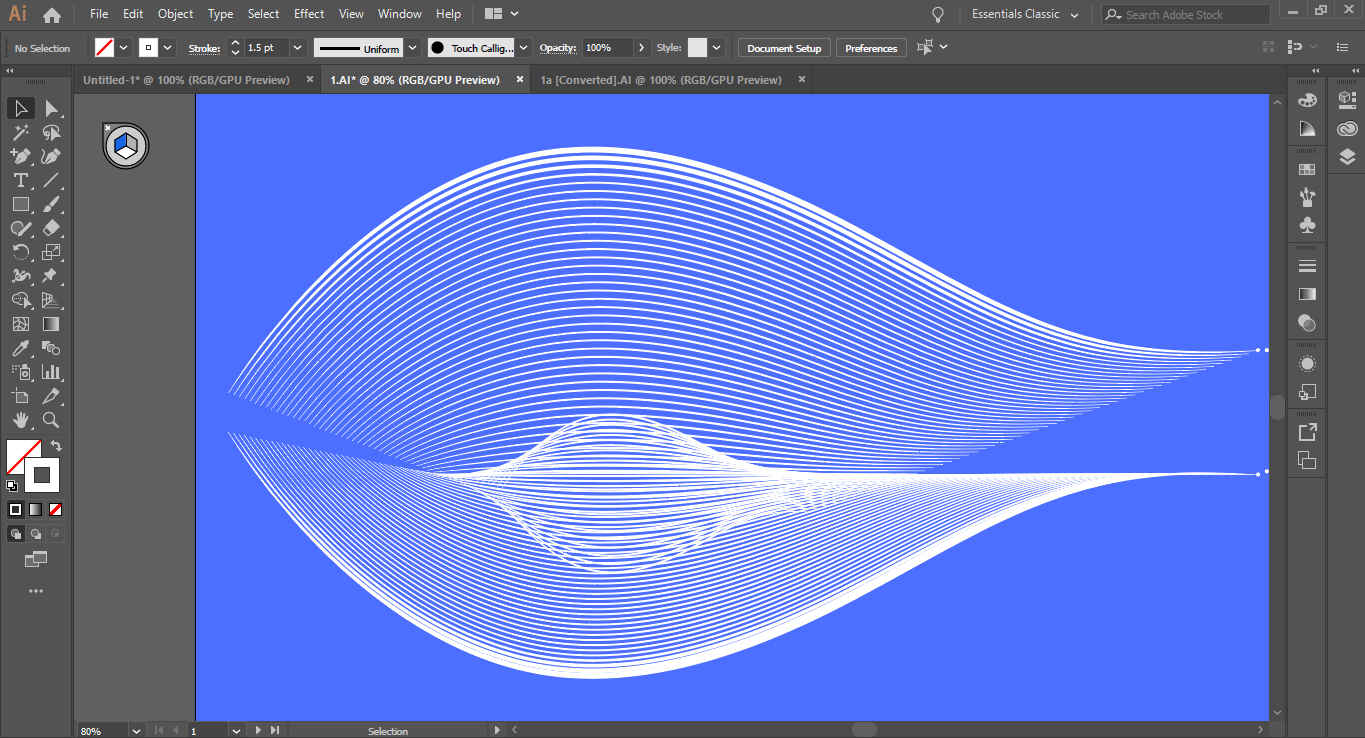
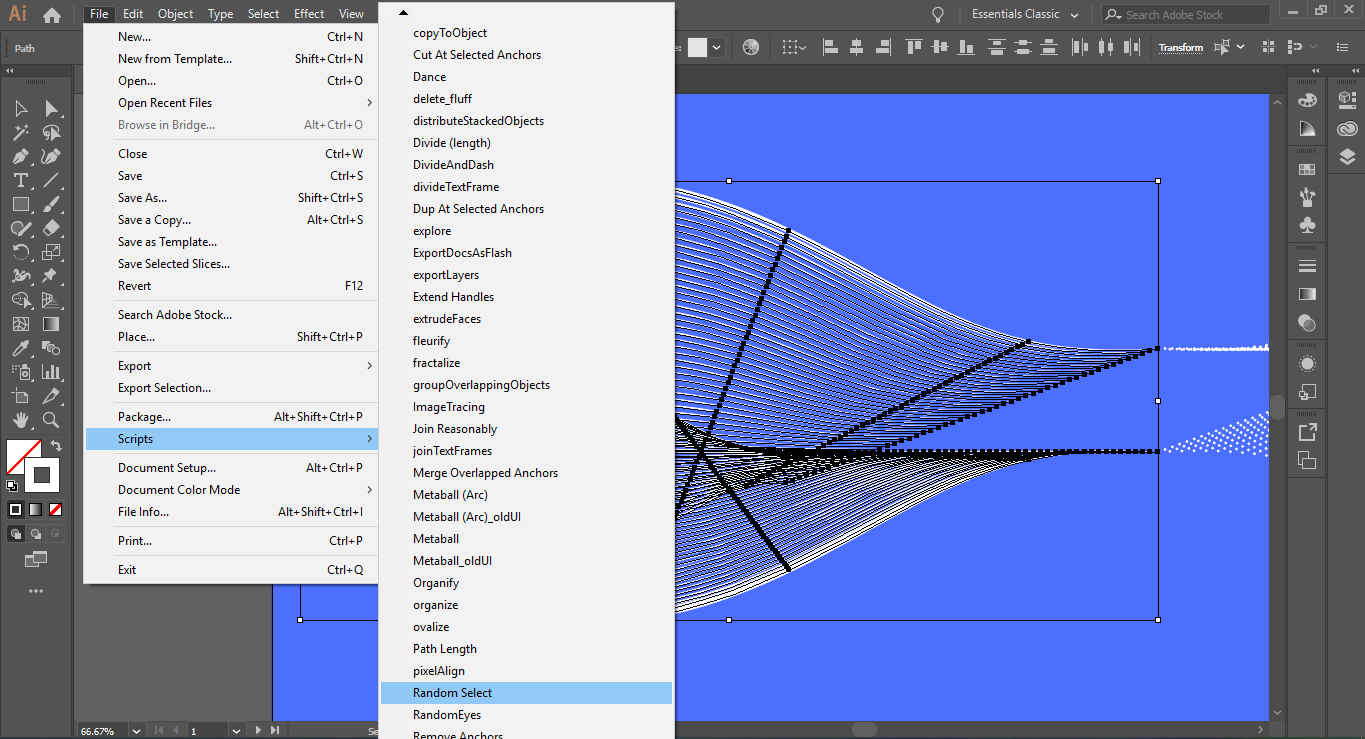
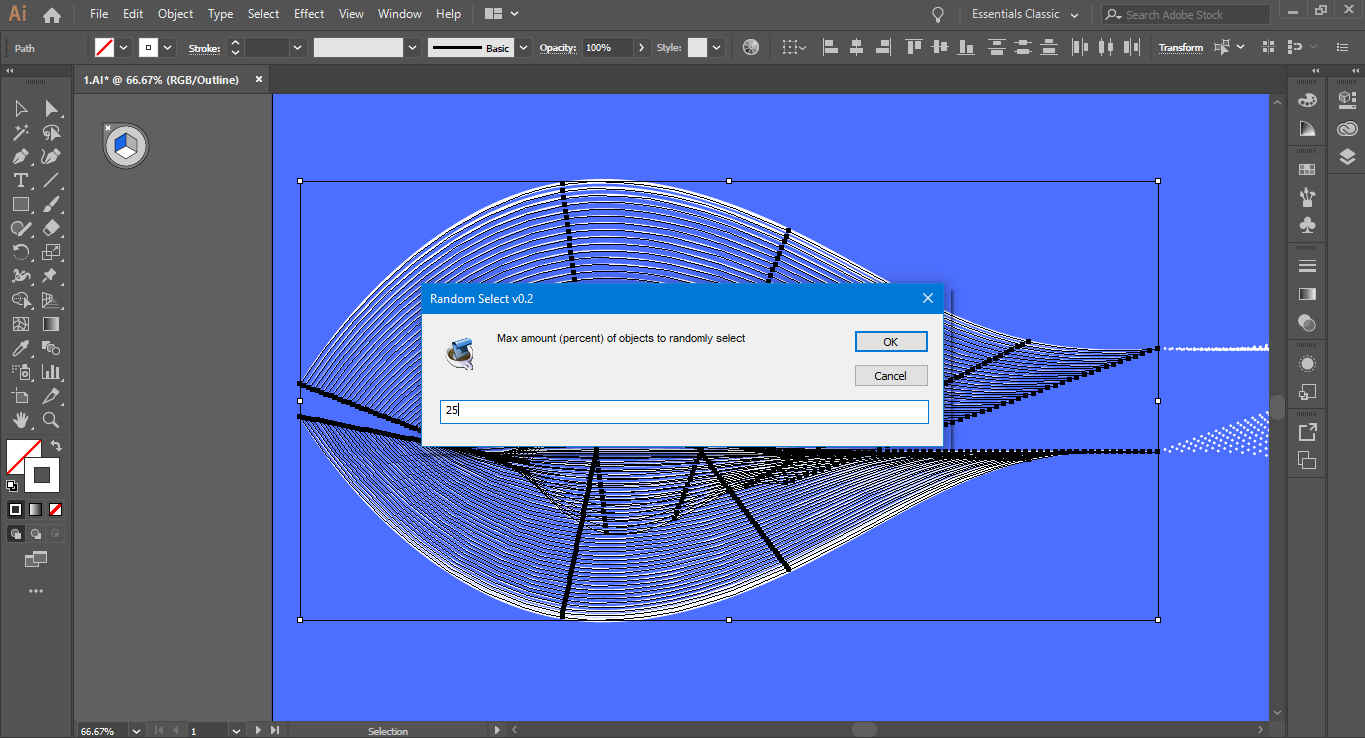
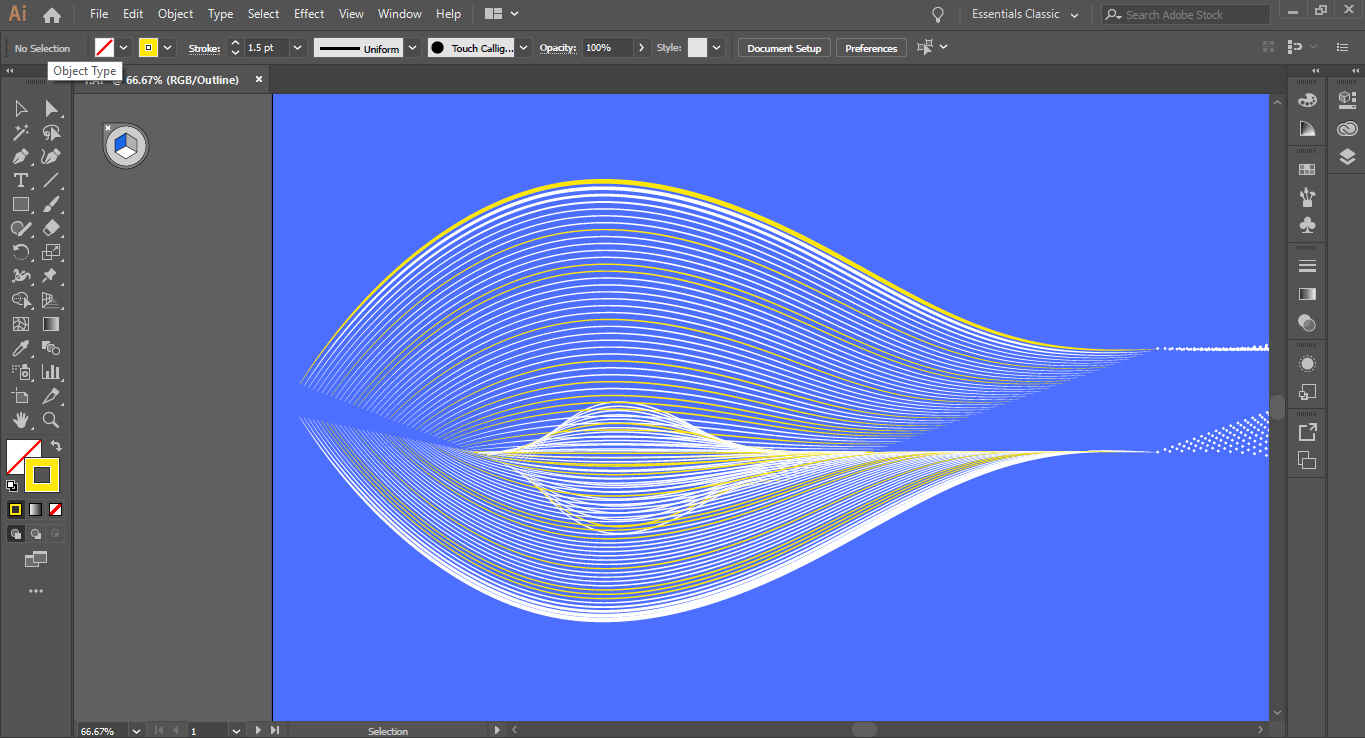
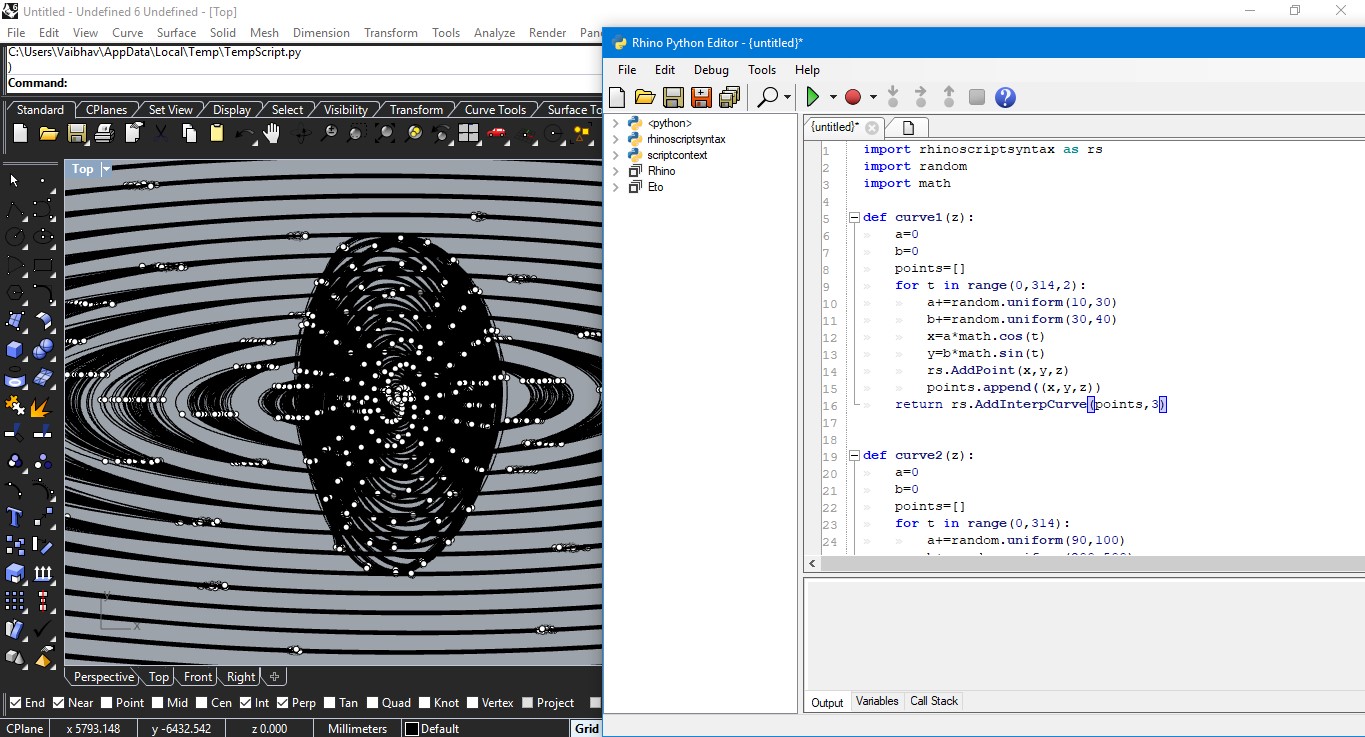
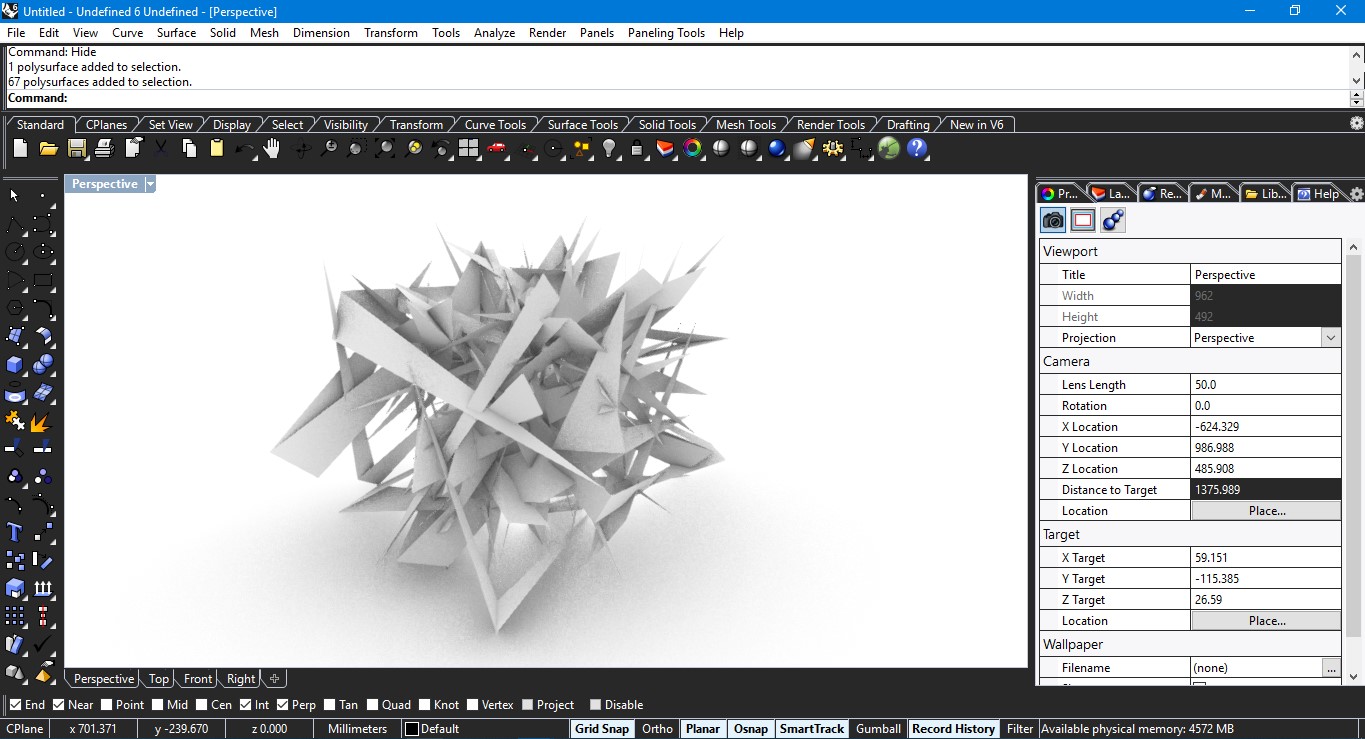
Adobe Illustrator has some really powerful options to create vector graphics. I particularly focussed on Blend Tool, Puppet Wrap Tool and played around with various line widths to create a series of graphics based on a common theme of BIRTH, KAIROS AND LIFT-OFF. I also extended the use of Illustrator by using pre-defined scripts downloaded from the internet. I used a script called Random Select, that randomly selects objects based on the percentage select and I gave them a different color to play around with. The script can be downloaded here.
GIMP

GIMP has many features that are equivalent to Adobe Photoshop. While Photoshop uses .psd file extension format to save everything like layers, path etc. GIMP uses .xcf file extension format. There were few things that I wanted to do in GIMP and see how it fares compared to Photoshop. First bulk image compression, secondly conversion of colored photographs to black and white photo.
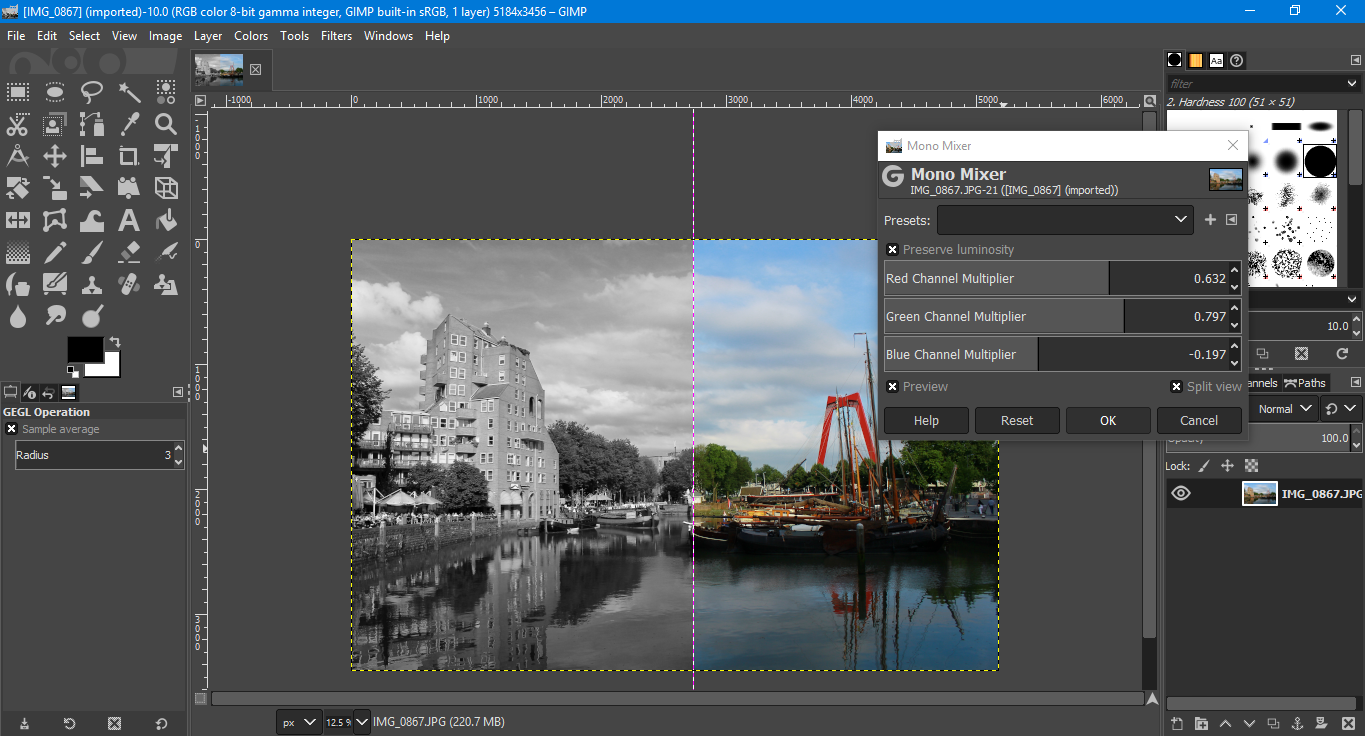
Mono Mixer for converting colored images to black and white images provides the option to mix RGB filter that is equivalent to a physical camera filter. Increase in red filter darkens the blue sky in black and white photo.
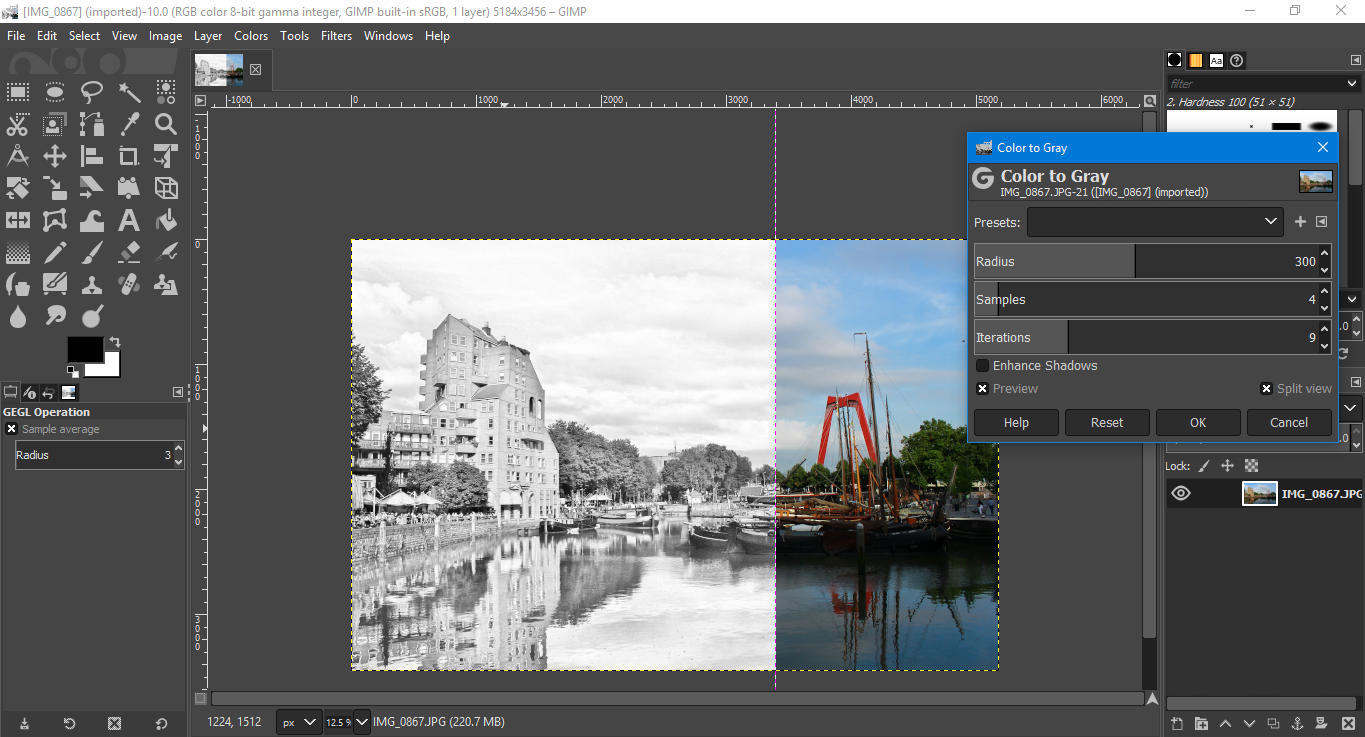
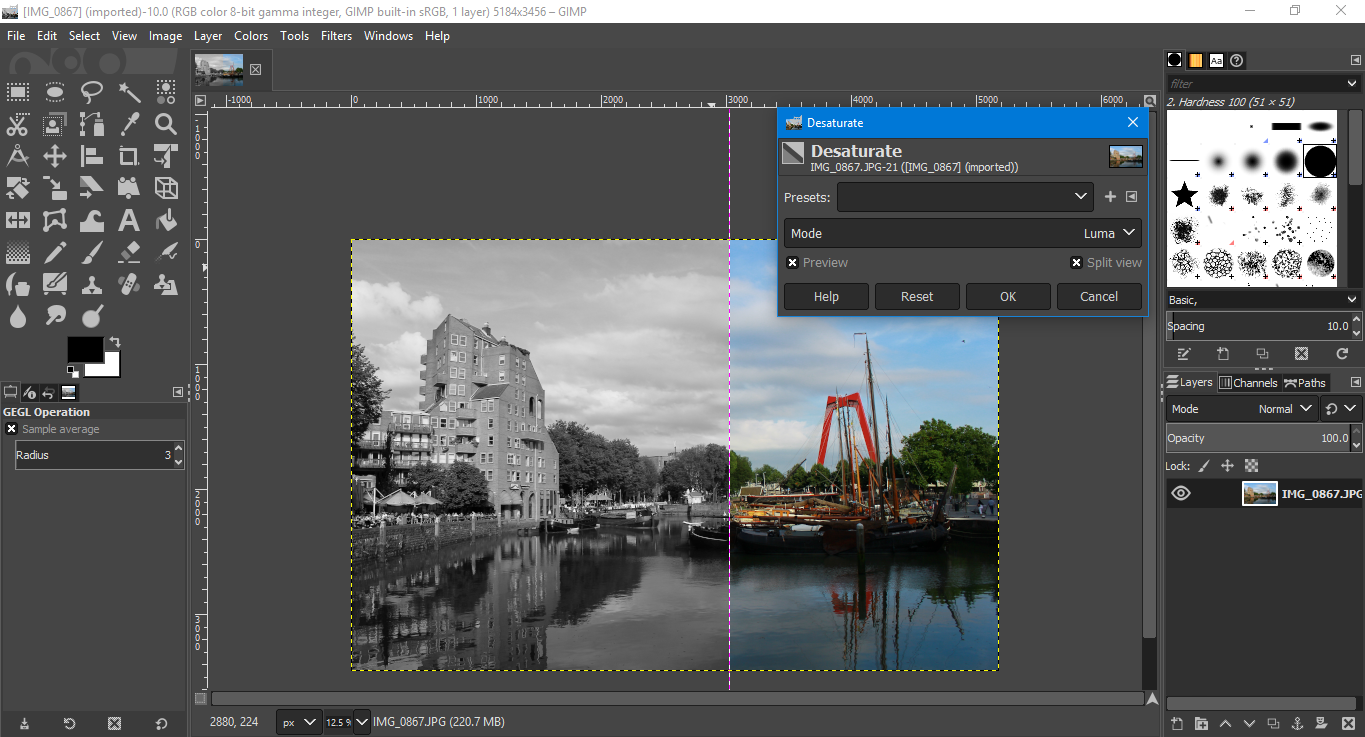
Color to Gray option surprized me with the amount of tonality it adds to the black and white image, since personally I prefer black and white images with a bit of punch. I would prefer this option over Mono Mixer. Both Mono Mixer and Color to Gray option provides realtime parameters to make changes. I also tried Desaturate option but it didn't impress me to give punchy black and whites hence, Color to Gray is my go to option for converting to black and whites.
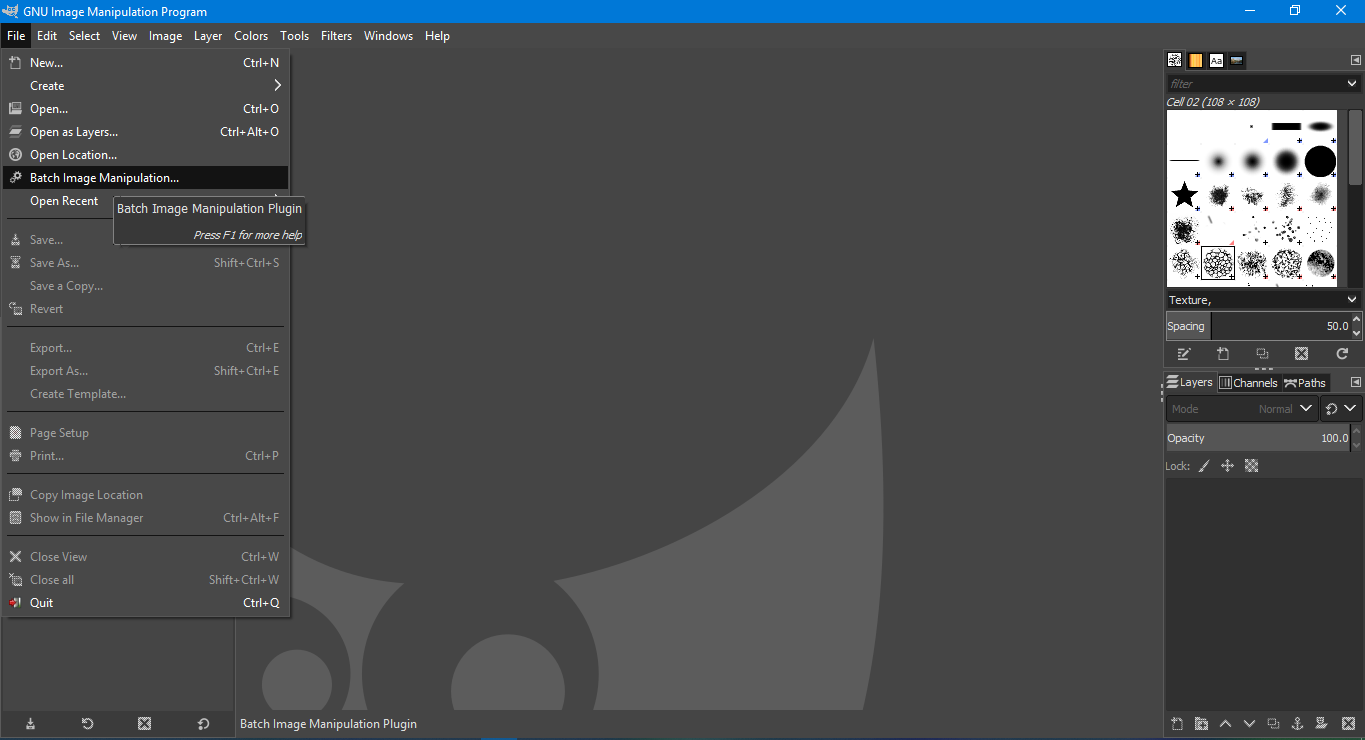
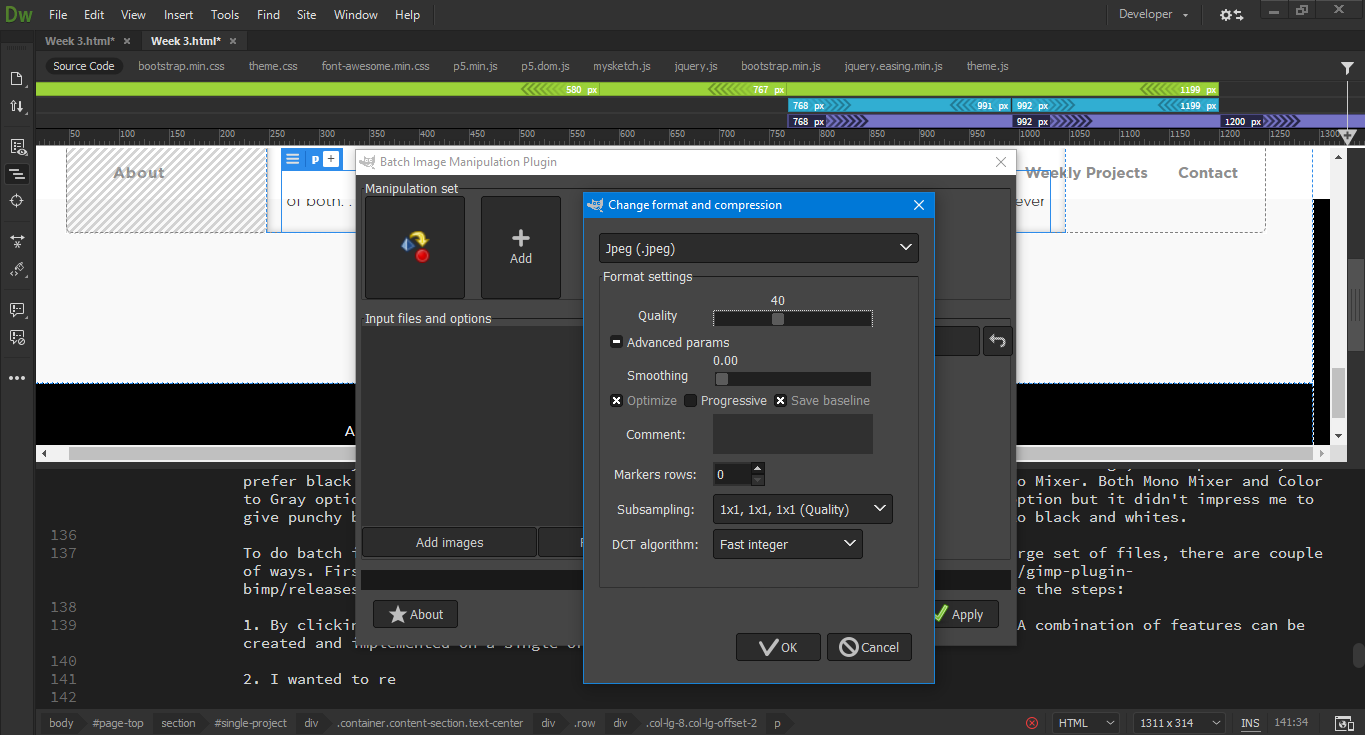
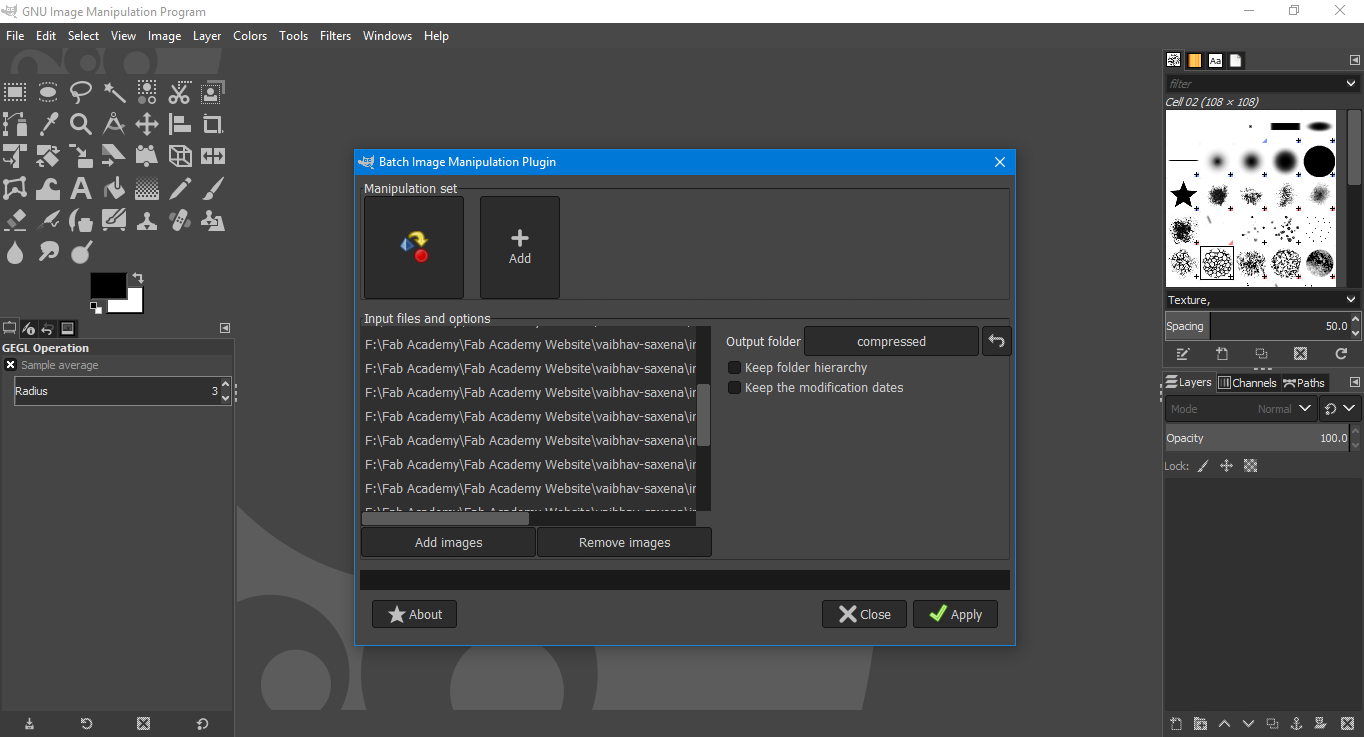
To execute batch image processing, that comes really handy to perform the same function on large set of files, there are couple of ways. First, I downloaded the BIMP plugin and used it to compress large number of files at once. Here are the steps:
1. By clicking on the add button, several options are displayed like resize, crop etc. A combination of features can be created and implemented on a single or a set of images.
2. I wanted to change the format of myscreenshots and compress them, hence I chose only one option.
3. Next, in the input folder, one can either add a single image or a bunch of images in a folder. The output folder is as simple as it gets. I selected a folder containing screenshots of 3.6 mb and compressed them to 2.5 mb.
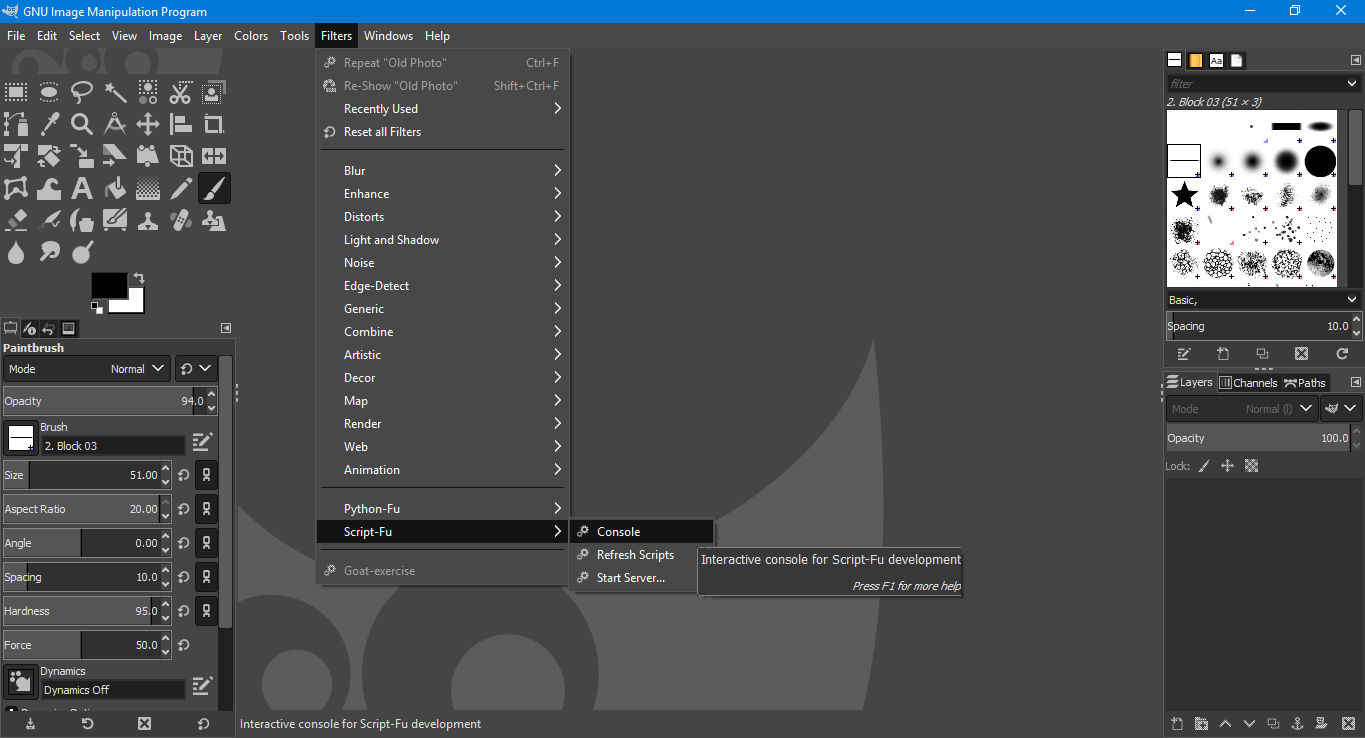
Since lot of things in GIMP are similar to Photoshop, I wanted to try simple image processing from command line. Here are the steps:
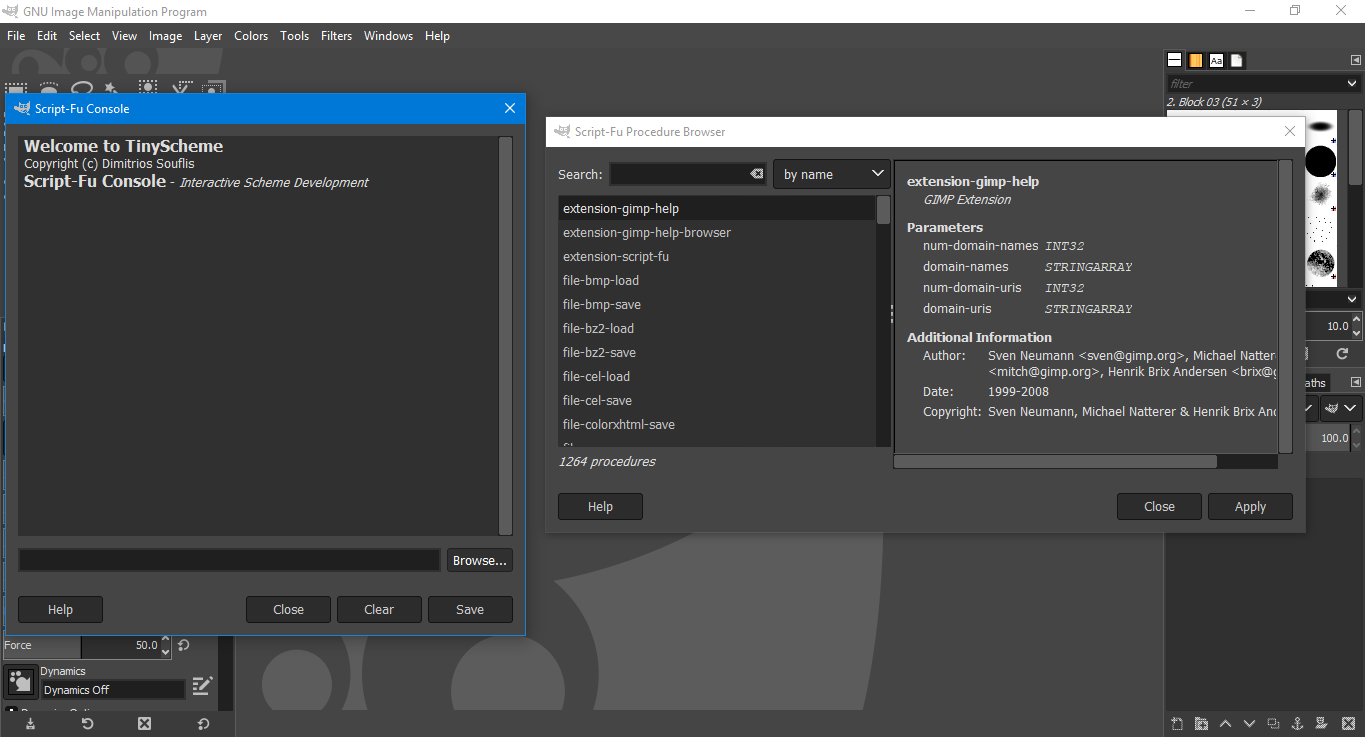
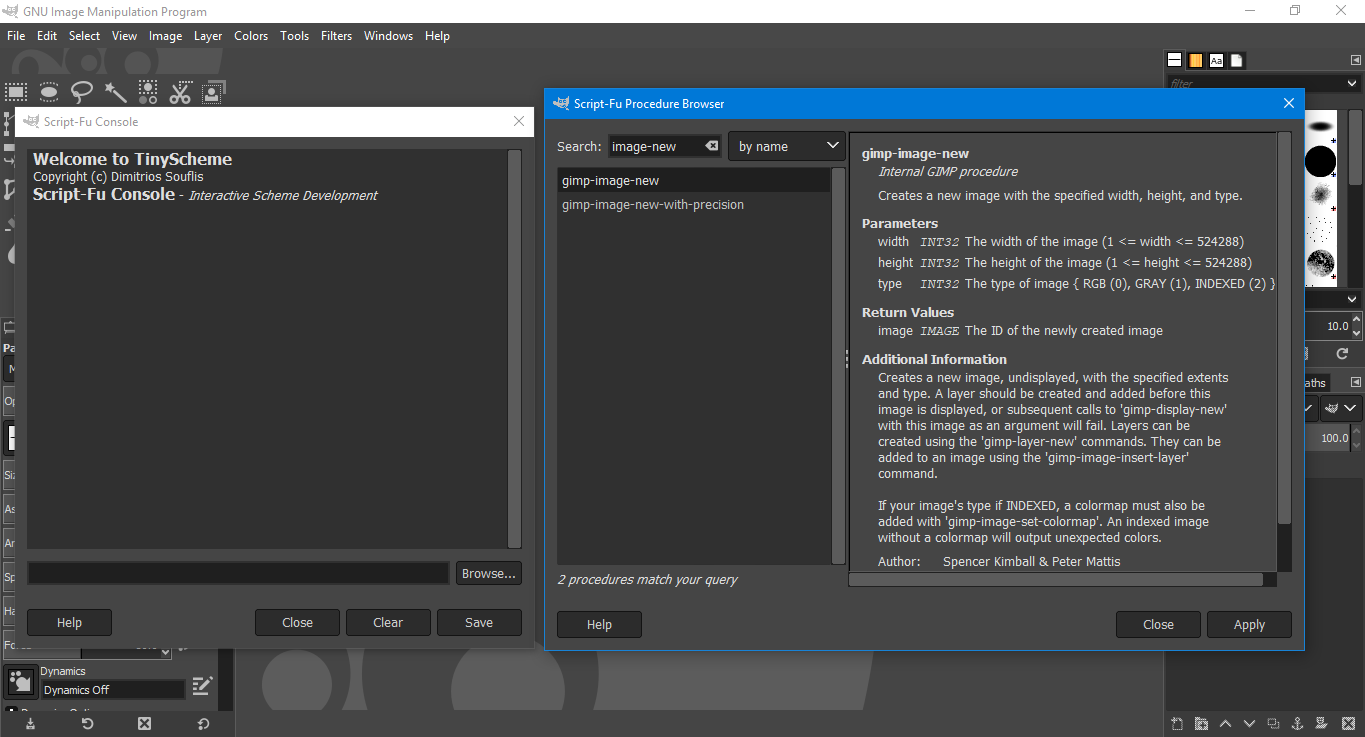
1. Script-Fu is an inbuilt console in GIMP and can be easily accessed by going to Filters> Script-Fu> Console>. It is based on Scheme programming language.
2. Once the console is open, you can click on 'browse' to access most of the functions to either create a new image file, add layers, write text or duplicate something and many other features.
3. Each command has some parameters that has to be edited in order to execute that function.
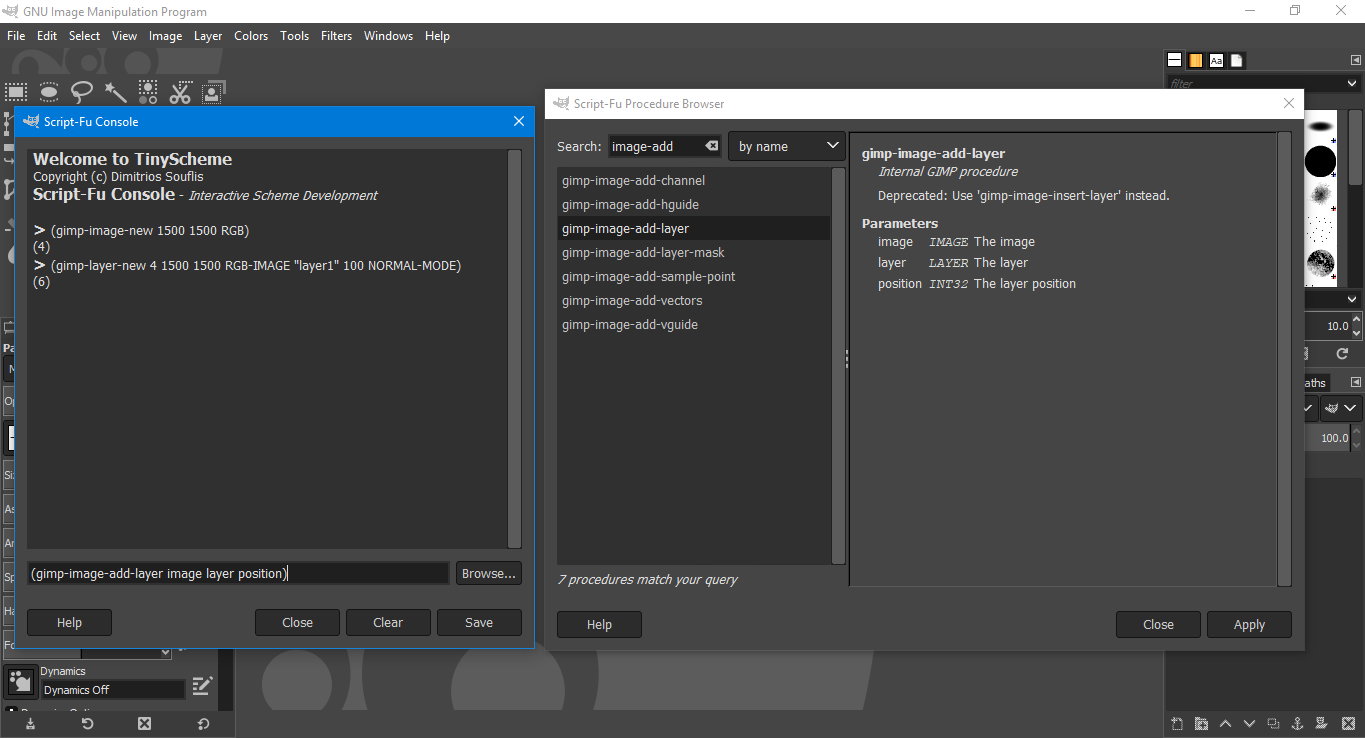
4. i) gimp-image-new creates a new image.
ii) gimp-layer-new creates a new layer.
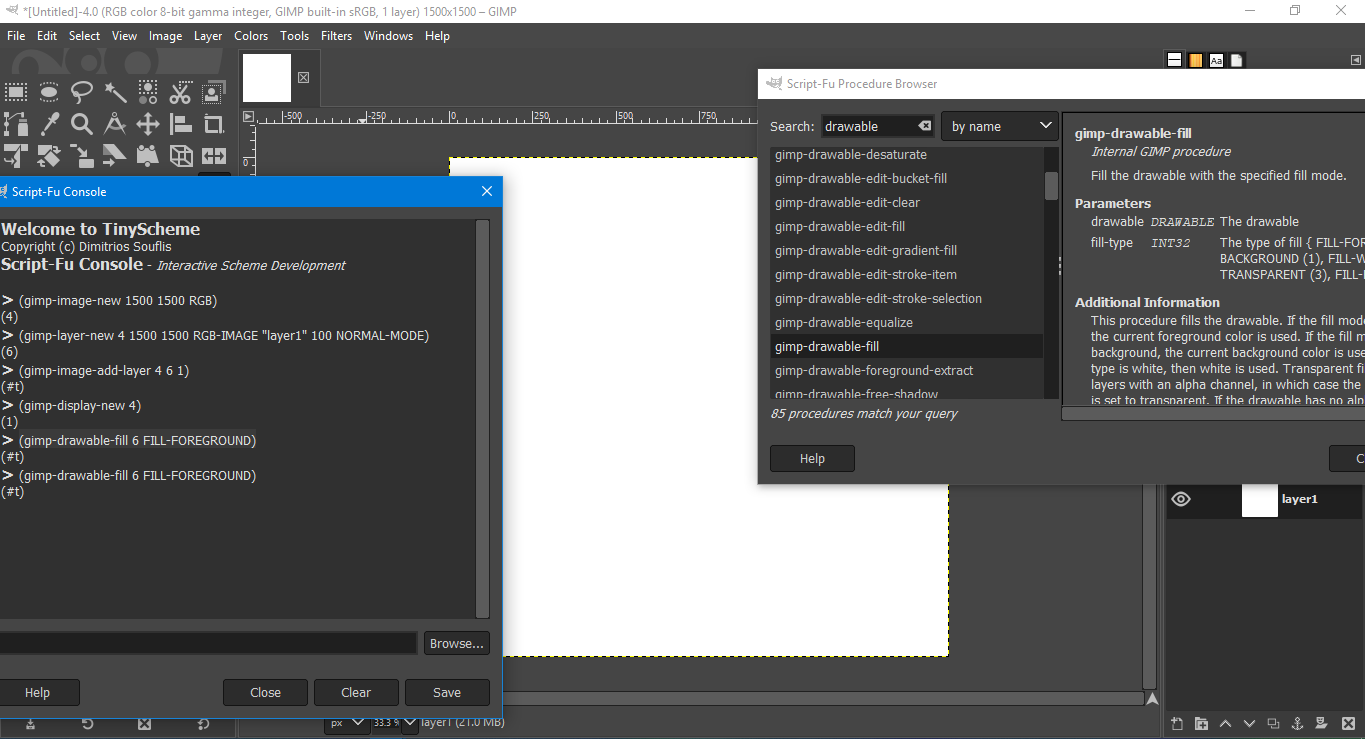
iii) gimp-image-add-layer adds the new layer to the image. Till now nothing will be visible in GIMP since we have created virtual image and layer and a display command will show the work done till now.
iv) gimp-display-new will display the layer.
v) gimp-drawable-fill can fill the current layer with either foreground or background color.
vi) gimp-text-fontname writes the text in a new layer.
After spending almost over a day to figure out how to use GIMP, Script-Fu and making scripts, I felt the process to give commands and create new images and layers was a bit on the slower side. I intend to use GIMP more for black and white conversion and will slowly pick up its coding in future weeks. This link further describes how to write scripts in GIMP.